- Created : 25/12/2023
- Updated : 08/08/2024
- Support Email : support@pixelnx.com
Introduction
BookingHub - Simplify Social Media Scheduling with BookingHub - Your Ultimate Planner App.
BookingHub is a user-friendly Script that leverages the power of React JS technology. This versatile tool provides both admin and user dashboards, ensuring a seamless and enjoyable editing experience.
A booking hub script is designed to facilitate and manage booking system for various services. These services can include hotel bookings, restaurant reservations, event ticketing, appointment scheduling, and more.
Our platform supports Stripe and PayPal payment methods, allowing administrators to tailor subscription plans to diverse preferences. Booking Hub Script ensures a smooth and adaptable payment process, enhancing user satisfaction.
Along with this it has an admin dashboard for businesses to manage bookings, view analytics, and adjust settings. While creating user, admin can assign a plan and allow user to access the plan features without making the payment, just by keep an option "Is Payment required for this plan" as unchecked.
With User dashboard, user can manage their campaigns, registration on the campaign, integrate payment method and autoresponders and many more. Users gain a comprehensive view of their subscription landscape, easily accessing details of purchased plans and exploring available options.
Where convenience meets customization – welcome to the ultimate booking hub!
Demo Login Details
Admin Login Details
- URL https://bookinghub.pixelnx.com
- Email : demoadmin@bookinghub.com
- Password : demoadmin@123
User Login Details
- URL https://bookinghub.pixelnx.com
- Email : demouser@bookinghub.com
- Password : demouser@123
Script Created Date:
Please check Live Preview:
Creative Author Portfolio:
Features
There are more than enough features squeezed in this script like
Features of the admin
- Dashboard
- Cloud Storage
- AWS Integration
- Google Cloud Integration
- User manage and listing
- Can assign plan to user
- Admin can allow user to access features of the plan without making payment
- Plans Management
- Manage payment Methods
- Manage Profile, SMTP, and Email Content Settings
- Show the deleted users in Trash
- Check Contact Form Messages and Reply to User
Features of the User Dashboard
- Dashboard
- Can add multiple languages for Widget
- Enable RTL
- Create campaigns
- Registrations of the campaign type
- Manage Profile, Billing, and Subscription Settings.
- Manage Email Settings
- Show the deleted campaign in Trash
Features of the Script
- User Friendly
- Responsive
- Browser Compatible
- Lightweight

Script Installation
Note
1. Before installing the script please make sure that you have nodejs installed on your server and for Database MongoDB is neccessary.
2. You can check the node version from the terminal/cmd just type node -v.
How To Install Script
Step 1 Extract the (BookingHub)file that you have received from the Codecanyon. Inside that you will get code file and documentation
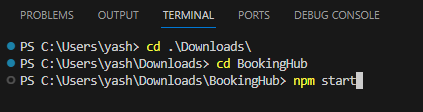
Step 2 Open the terminal or Command Line Prompt (cmd) on the system.
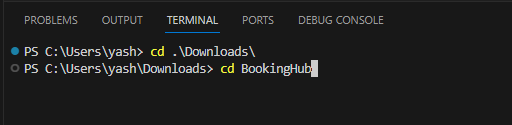
Step 3 Navigate to the folder where you have extracted the file through commands.
3.1 Run Command "Cd Extract_file_location" (BookingHub).
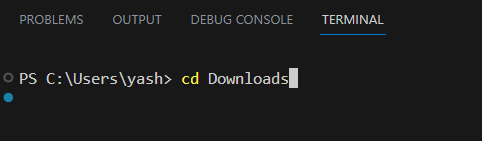
3.2 Run Command "Cd file_name" (BookingHub).
Step 4 Then install npm modules. Run command npm install

Step 5 Run command
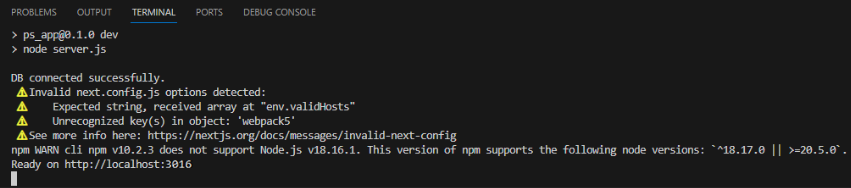
If Setup on local server (localhost)
Step 5.1 Run command npm run dev
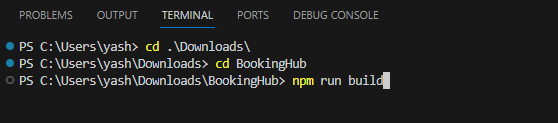
If Setup on live server
Step 5.1 Run command npm run build
Step 5.2 Run command npm start
Step 6 Then Navigate to next.config.js file and then update the following mention fields below
If Setup on local server (localhost)
App URL : Set the variable AppURLLocal.
Api URL : Set the variable ApiUrlLocal (Domain-url/api).
Database URL : Set the variable dbUrlLocal.
If Setup on live server
App URL : Set the variable AppURLLive.
Api URL : Set the variable ApiUrlLive (Domain-url/api).
Database URL : Set the variable dbUrlLive.
App Logo : Set the variable LOGO_IMG (provide path of logo image).
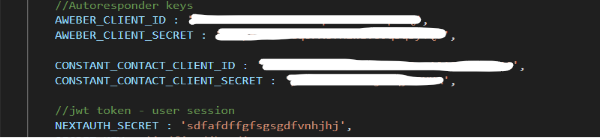
jwt token - user session : NEXTAUTH_SECRET (any string to generate jwt token)
metadata : APP_NAME, META_KEYWORDS, APP_DESCRIPTION and META_AUTHOR
Autoresponder keys : AWEBER_CLIENT_ID, AWEBER_CLIENT_SECRET, CONSTANT_CONTACT_CLIENT_ID and CONSTANT_CONTACT_CLIENT_SECRET


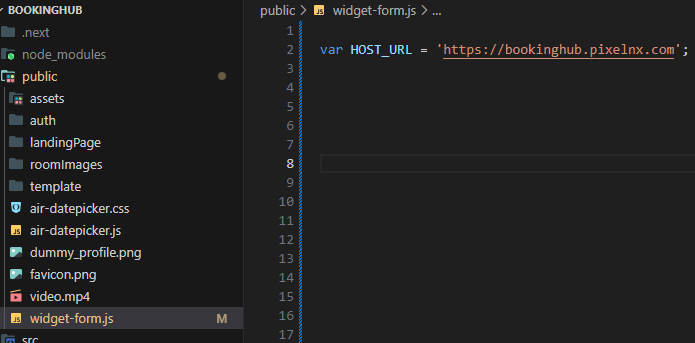
Step 7 To add the widget form in your site, change the host URL with AppURLLive in the widget-form.js file.
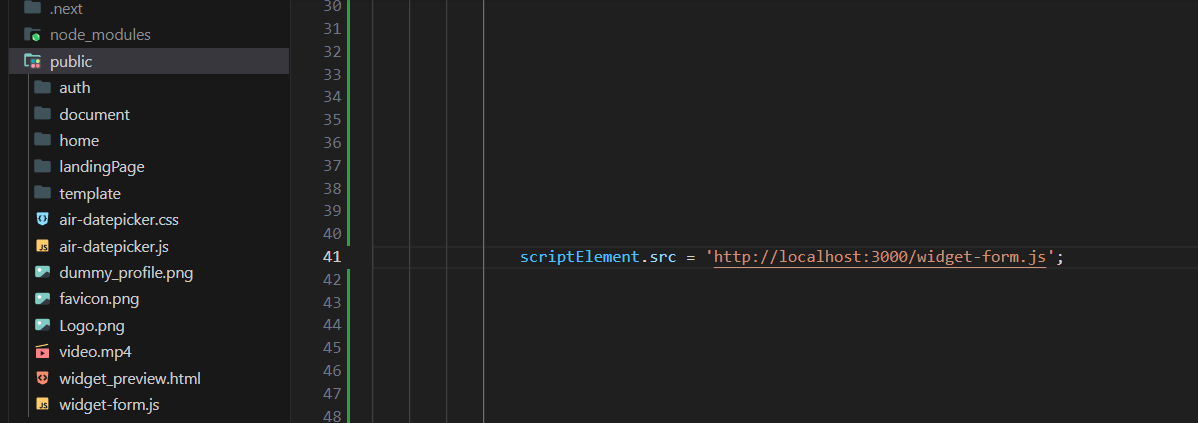
Step 8 For getting widget preview, change the localhost:3000 with domain URL in the widget_preview.html file.
Step 9 After that, open the Mongo DB and paste the "MONGODB_CONNECTION_URL" in the field.
Note: How to get MongoDB Connection URL Check here .
Step 10 To Import the demo data. Please go to the import section. click here
Cloud Storage Setup
For cloud storage you can integrate either AWS or Google Cloud.
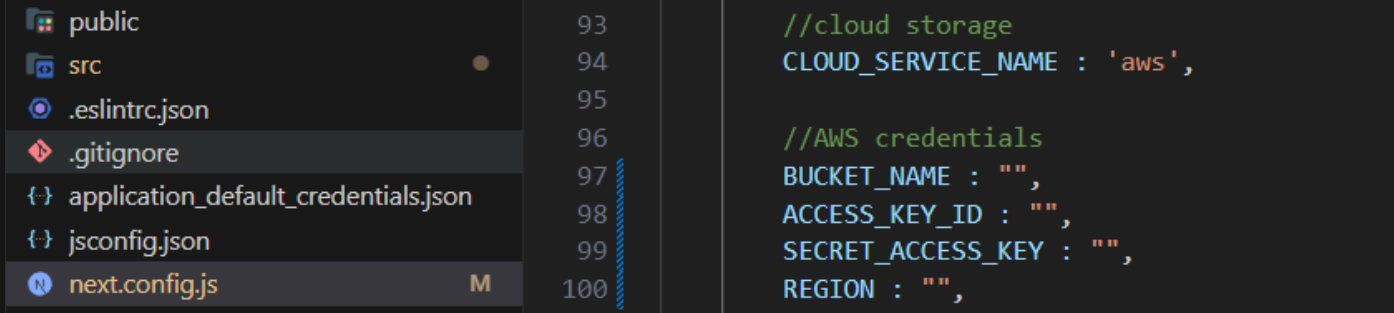
AWS - To set up AWS, create account on AWS and enter the AWS credentials and cloud service name in next.config.json file.
- CLOUD_SERVICE_NAME : 'aws'
- BUCKET_NAME : Enter bucket name here
- ACCESS_KEY_ID : Enter access key ID of AWS account
- SECRET_ACCESS_KEY : Enter secret access key of AWS account
- REGION : Enter region of AWS account
Google Cloud - To set up Google Cloud, enter the Google Cloud storage detais and cloud service name as "gcs" in next.config.json file.
- CLOUD_SERVICE_NAME : 'gcs'
- GOOGLE_CLOUD_PROJECT_ID : Enter poject ID here
- GOOGLE_CLOUD_BUCKET_NAME : Enter bucket name
- GOOGLE_CLOUD_JSON_FILE : Enter json file name here. (You need to put google cloud json file in the code, and make sure the put the name here similar to the file name.)
For example, we have json file with name application_default_credentials.json so we have entered this name in the GOOGLE_CLOUD_JSON_FILE parameter.

Demo Import
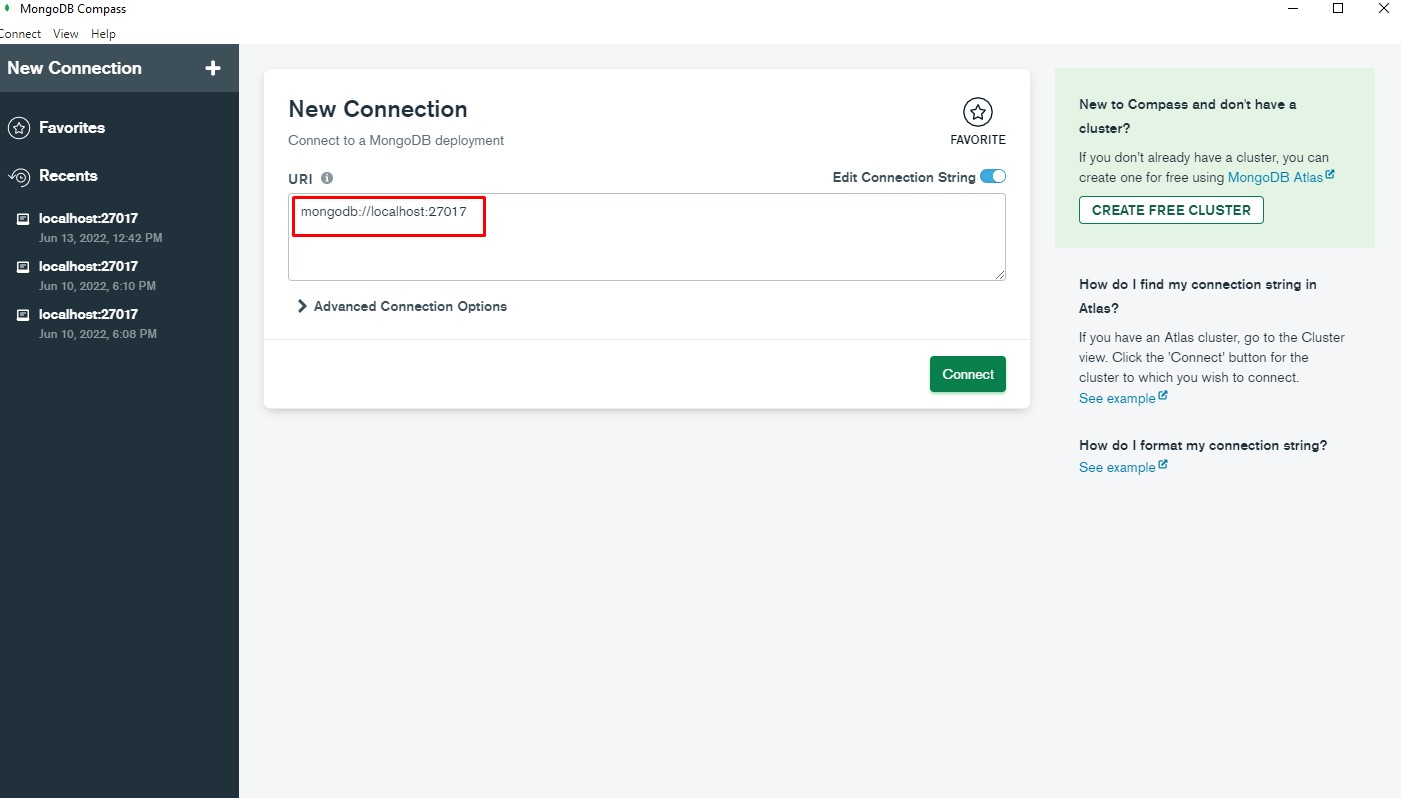
Step 1 : Open Mongodb compass and past Mongodb connection URL, and then connect.
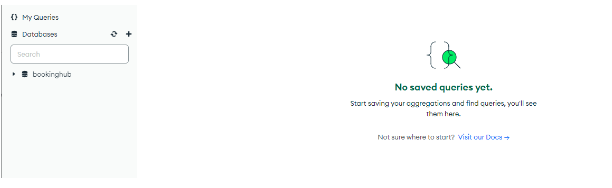
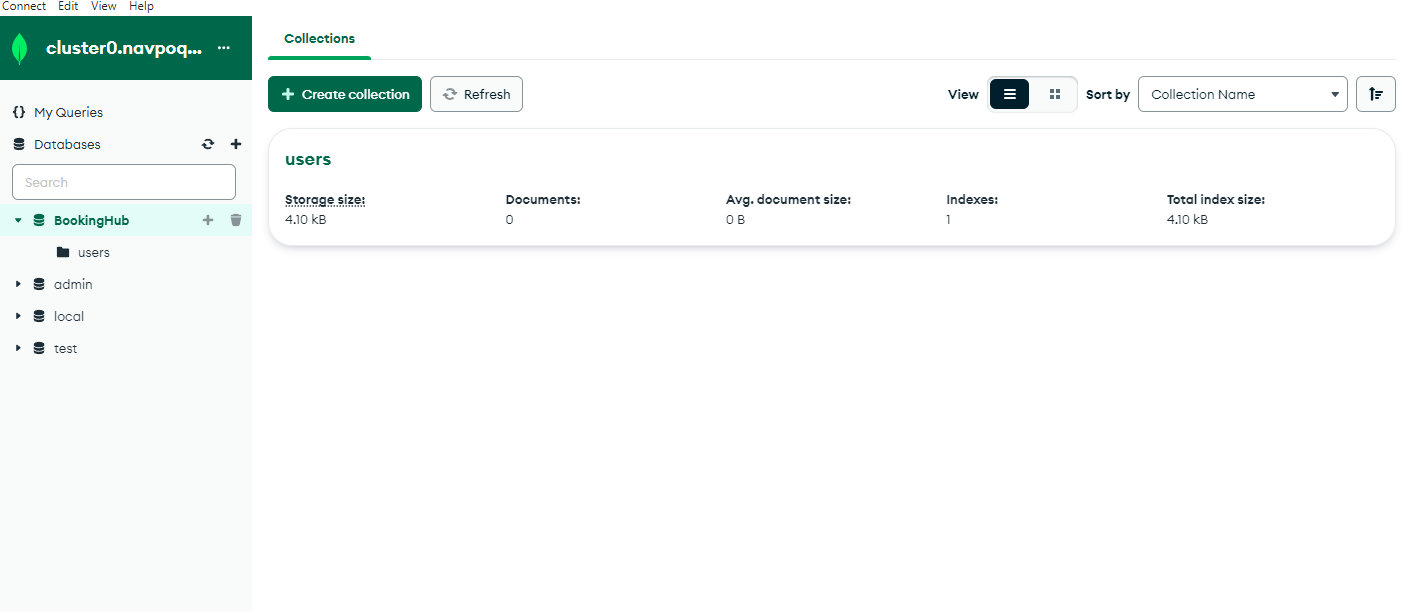
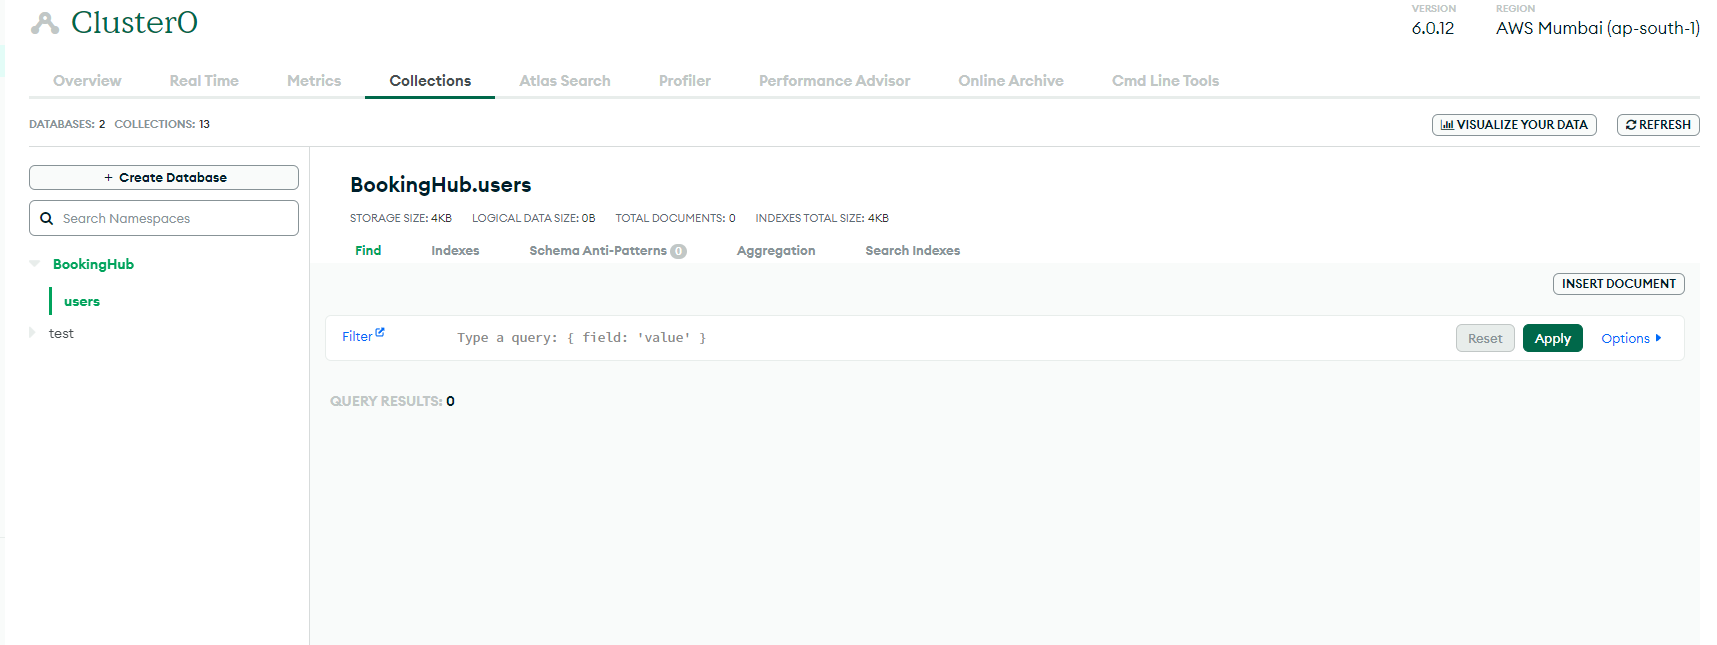
Step 2 : Please click on the database name. In our case is, "BookingHub" .
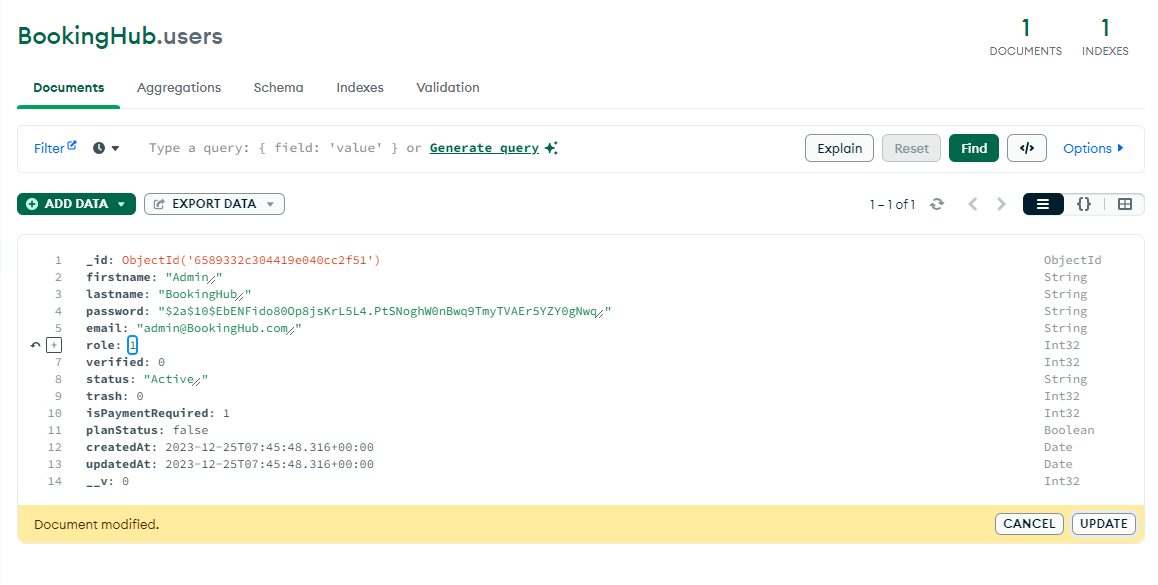
There is initially only one collection (users) in the database.
1. users (Shown in the screenshot)
Note : For above collection "BookingHub_" prefix is used but please match and use the same prefix as you added in the next.config.js file
Note : Do not use any prefix for users collection.
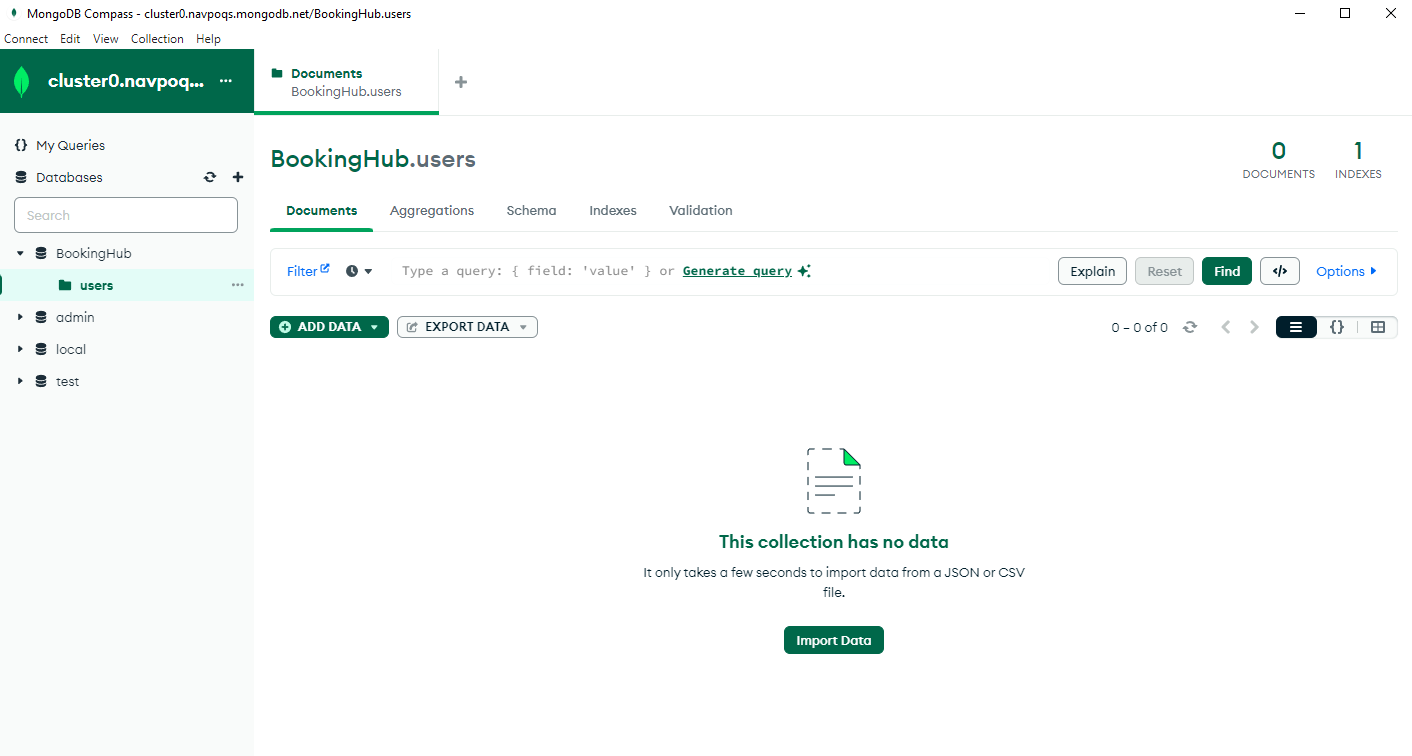
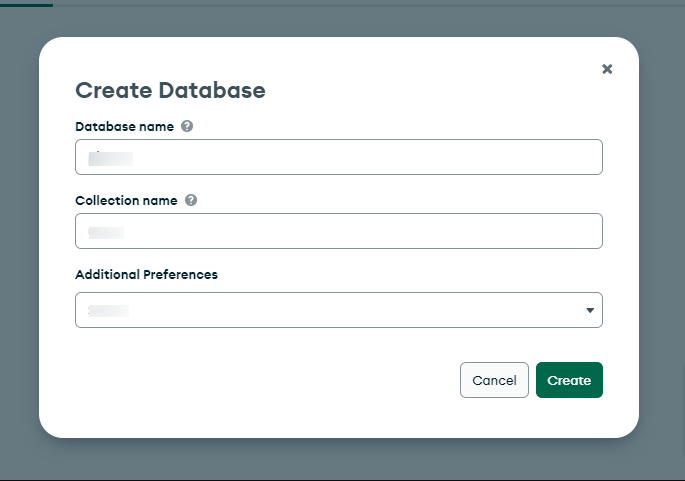
Step 3 : Click on the "Create collection" option.
Step 4 : Enter the collection name. then click the "create collection button" .

Step 5 : Import the user data in the users collection. To download the BookingHub.users.json file click here
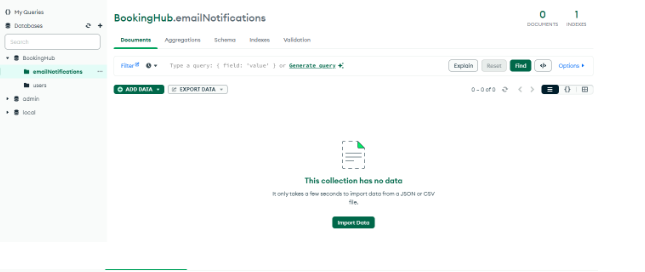
2. emailNotifications (Shown in the screenshot)
Note: Same as users collection, create another collection emailNotifications.
Step 6 : Import the data in the emailNotifications collection. To download the BookingHub.emailNotifications.json file click here
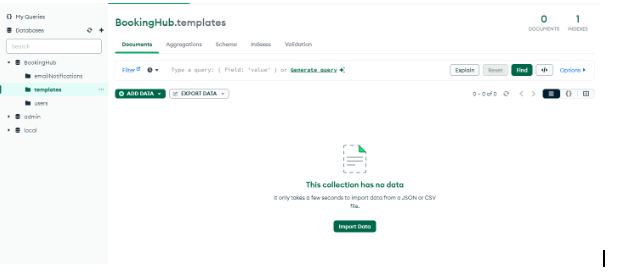
3. templates (Shown in the screenshot)
Note: Same as users collection, create another collection templates.
Step 7 : Import the data in the templates collection. To download the BookingHub.templates.json file click here
Step 8 Once the demo data has been imported successfully, then type the domain-name/login/ on browser's address bar, like : https://domain-name.com/login and you will get login page of the admin panel. For login use the credentials mentioned below
-
Admin details
- Email : admin@bookinghub.com
- Password : admin@123
-
User details
- Email : testuser@gmail.com
- Password : test@123
Note:For changing the role of any user to admin, set the value of variable role from 0 to 1.
Mongodb Setup
1. How do you get MongoDB connection URL.
Step 1 : Sign Up in MongoDB, or if you already have an account, then Login.
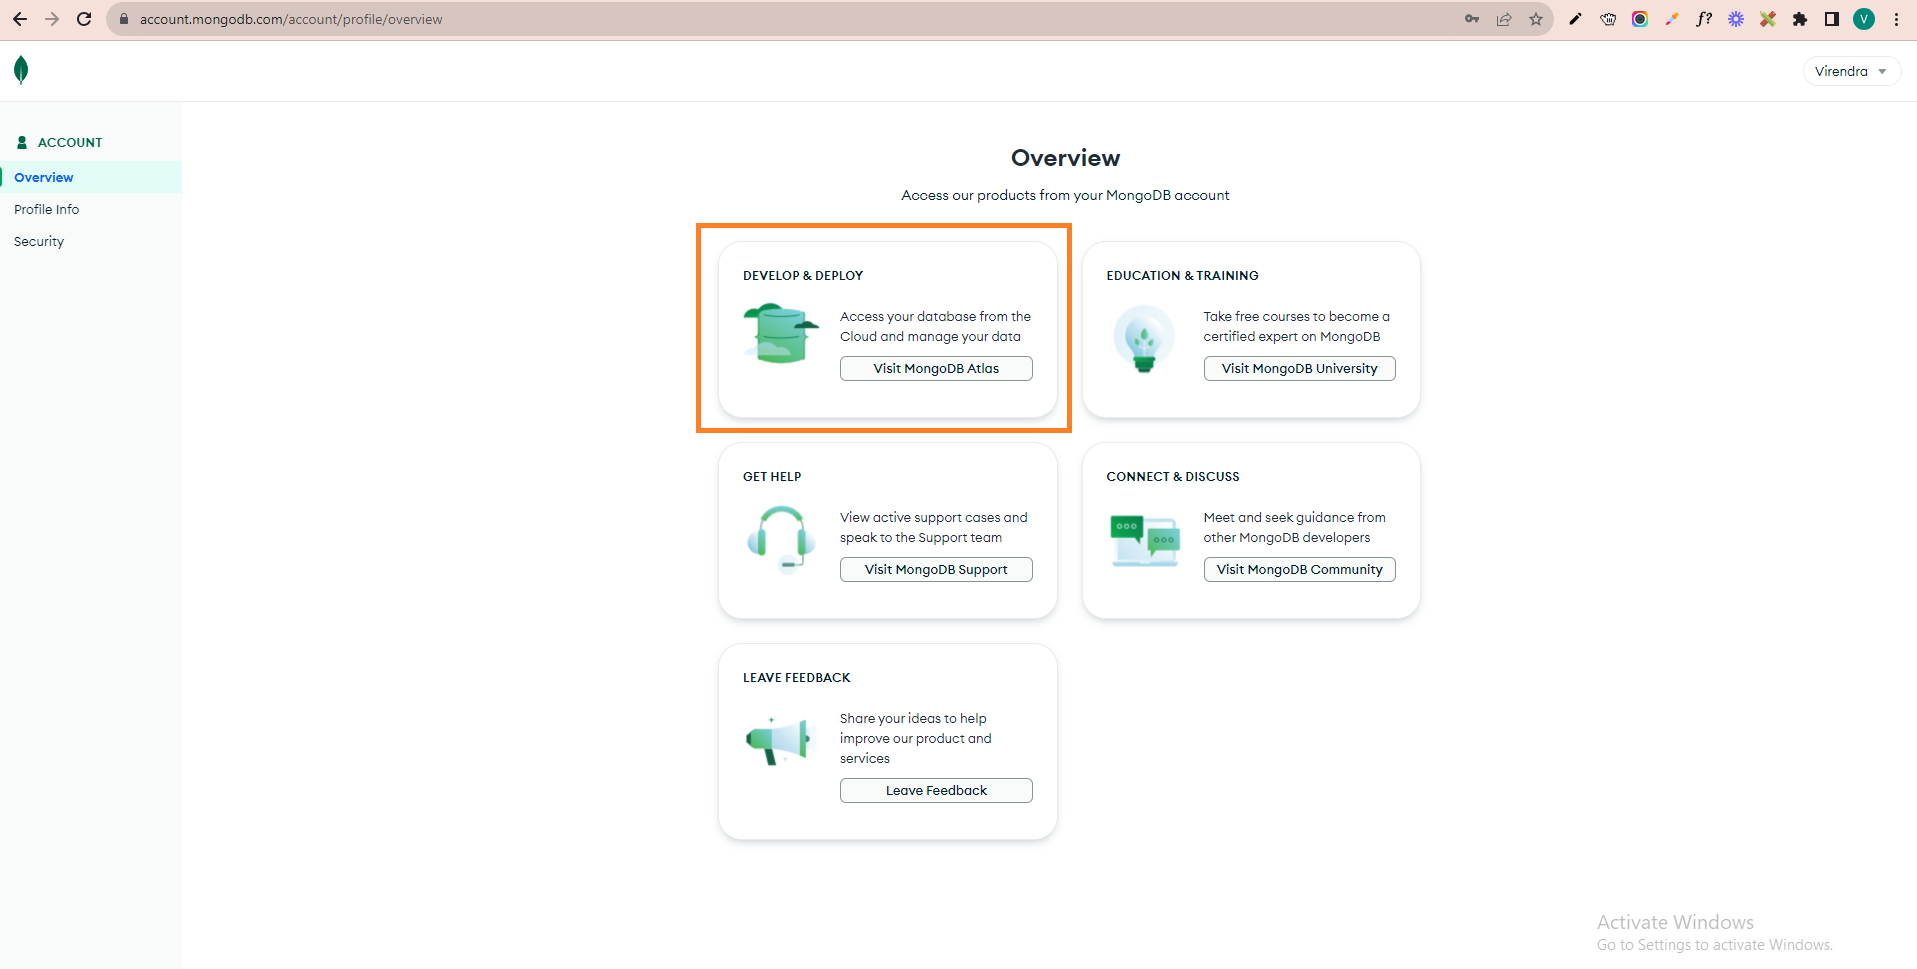
Step 2 : Login on Mongodb, then you will see the below screen. At this screen, you click on the first "visit MongoDB Altas" option.
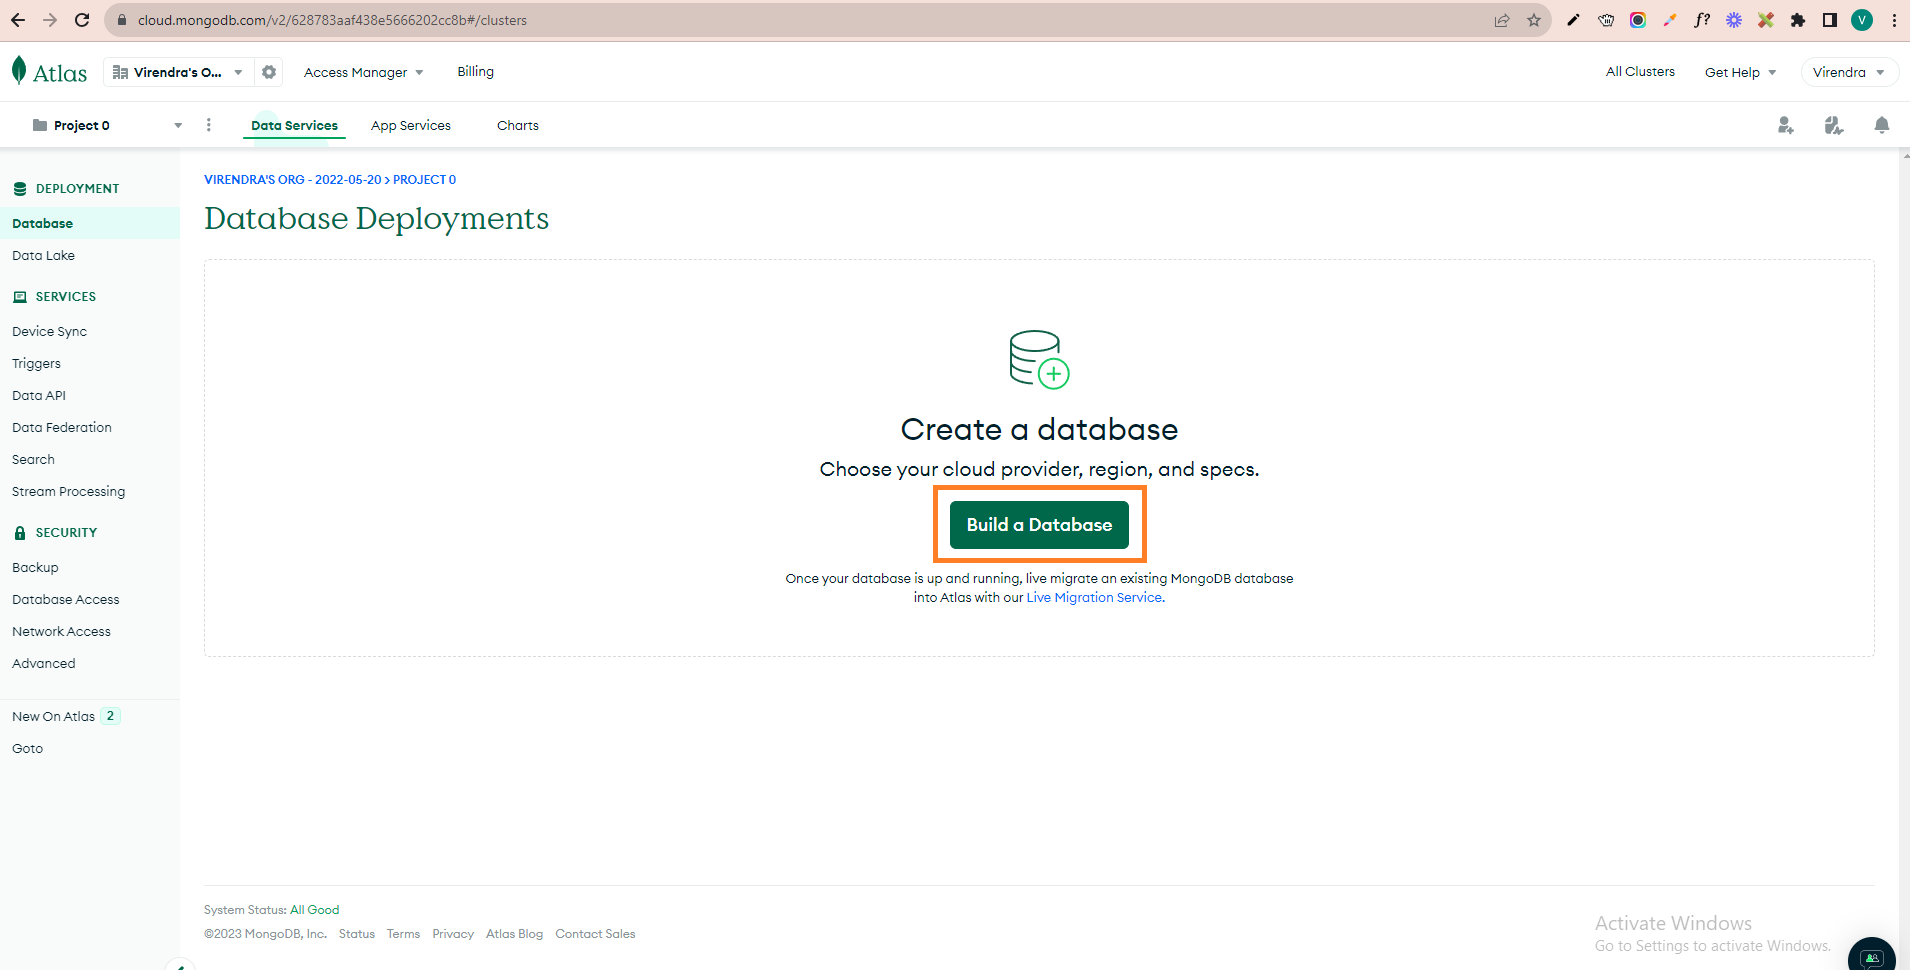
Step 3 : Now at this step, you have to create a database. Please click on "Build a Database," as shown in the screenshot.
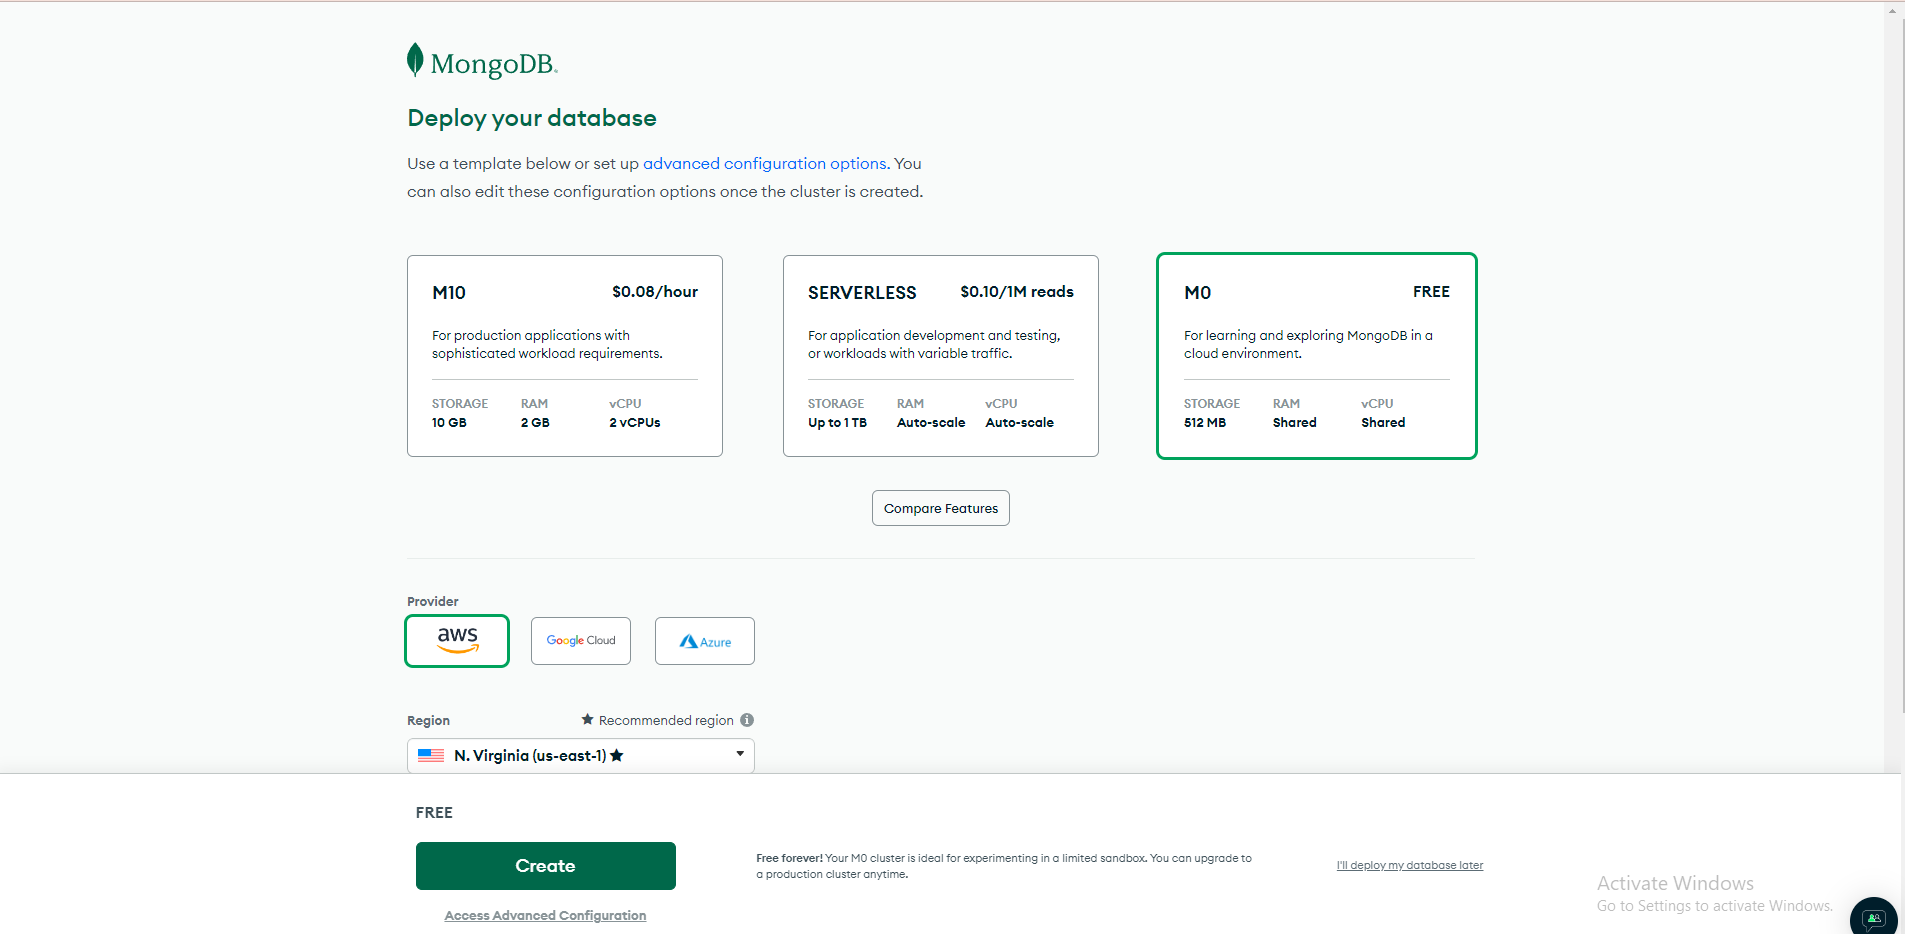
Step 4 : After that, select the free plan and click the Create button for the database. (later, you can upgrade your database plan as needed).
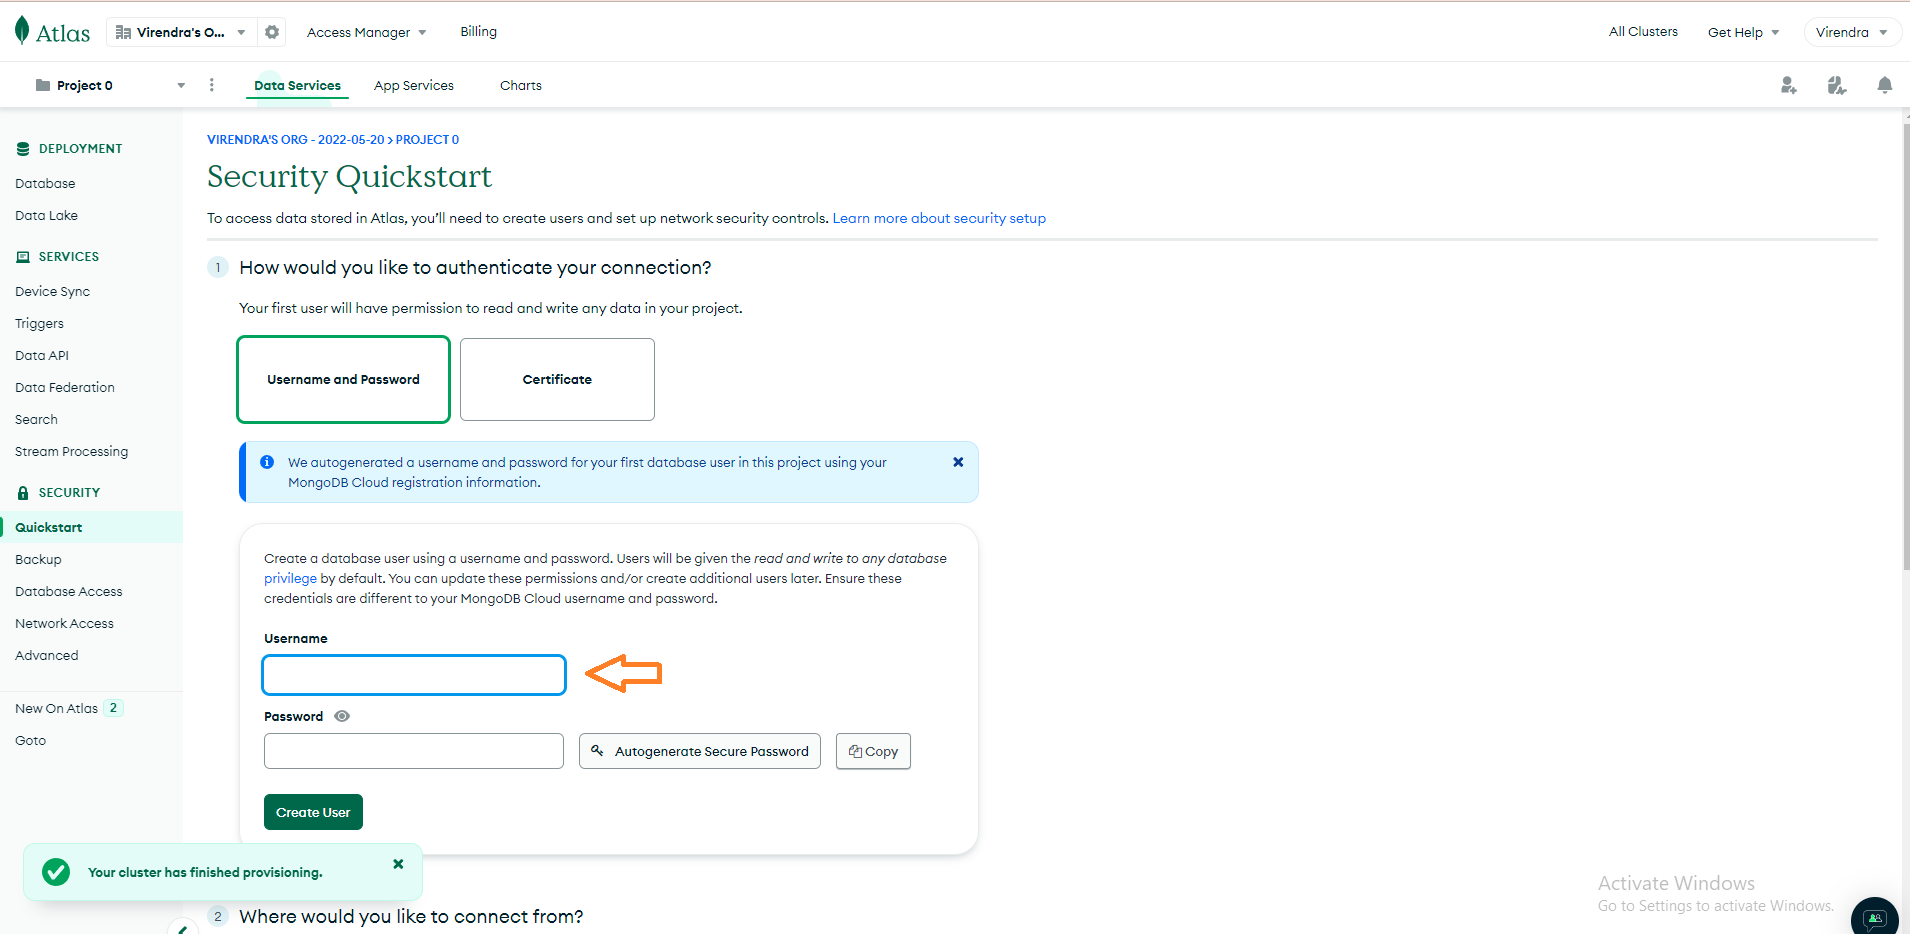
Step 5 : Firstly, create a user for the database at this step, update the details and create the user.
Step 6: Once you create a user, you will see this screen.
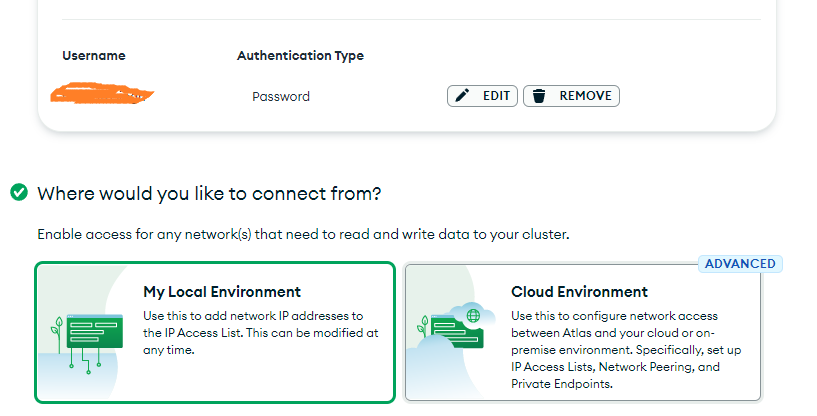
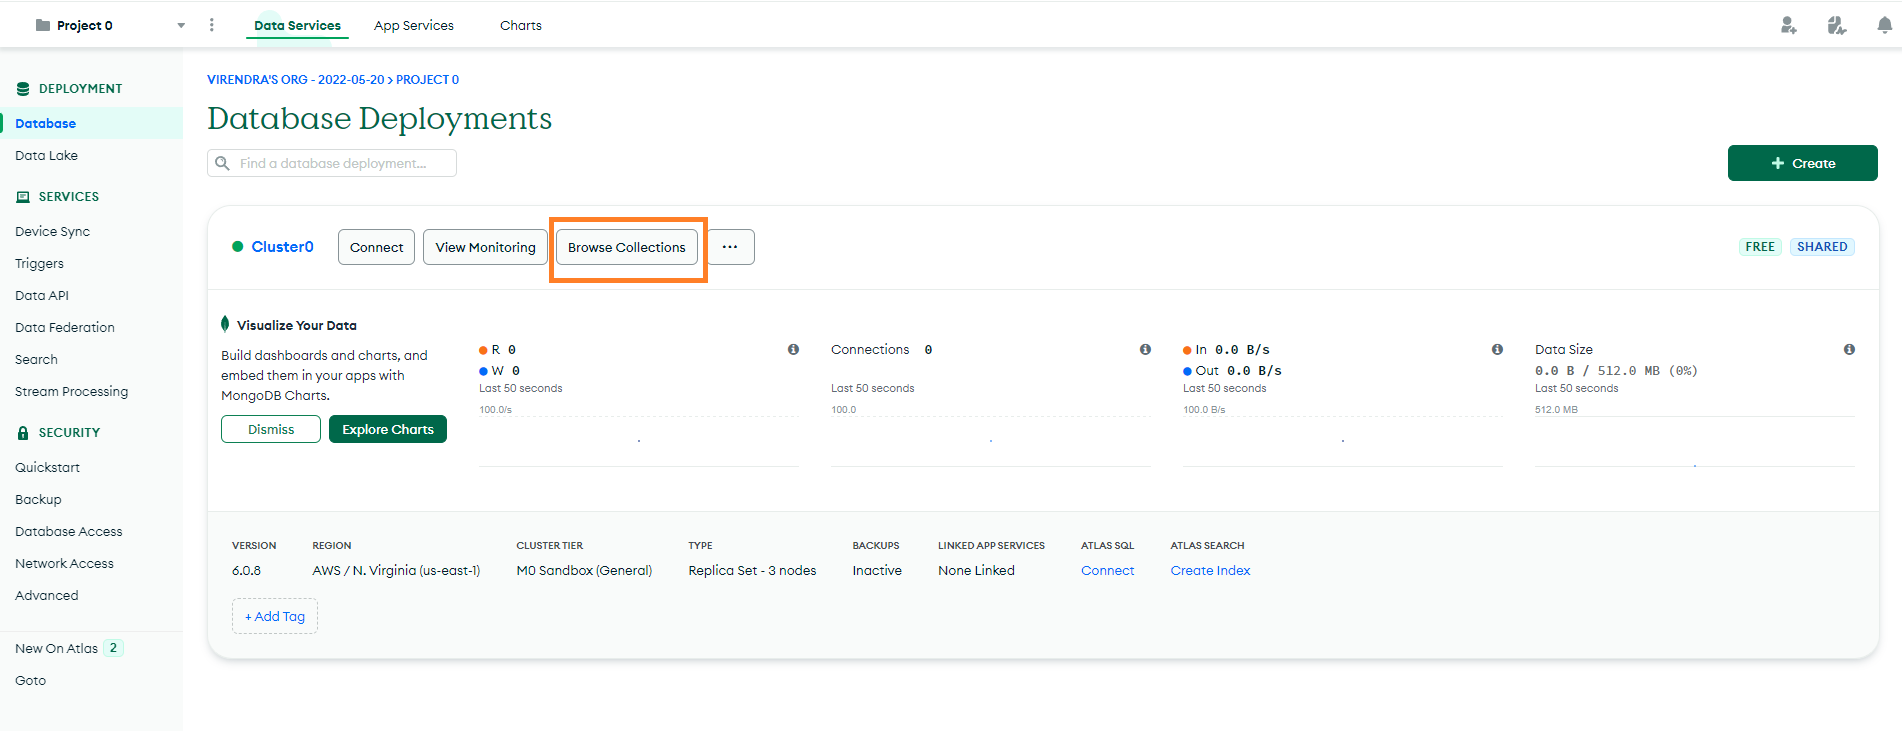
Step 7: Now click on the database showing in the left sidebar. Then click on the "Browse Collections" option.
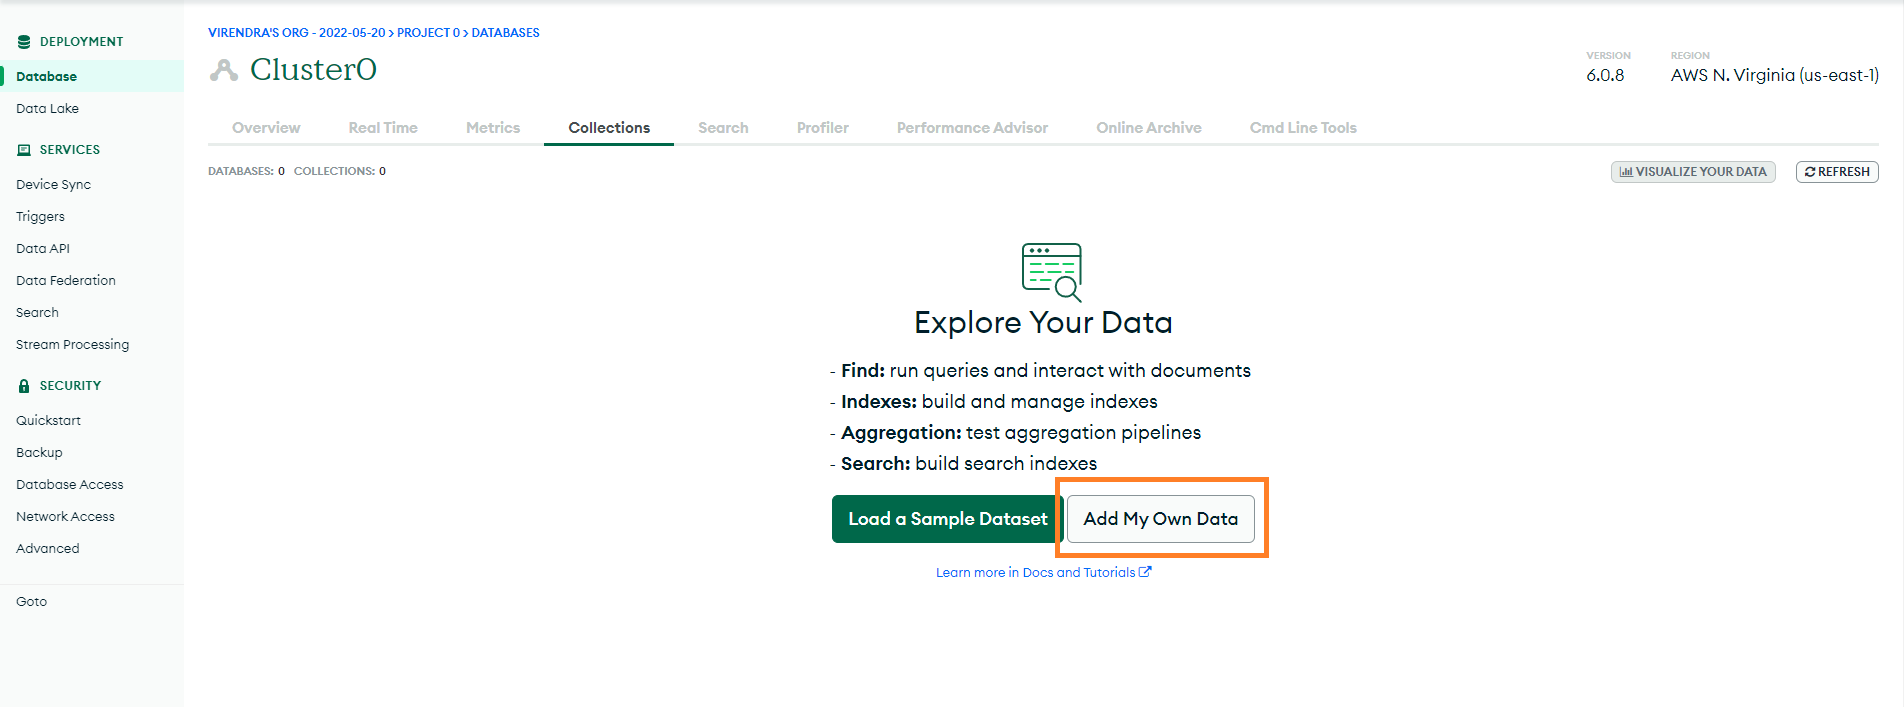
Step 8: Click on the "Add My Own Data" option at this step.
Step 9: Now add your database information.
Step 10: Once the database has been created, you will get this screen.
Step 11: Now click on the "database" menu, then click on the "connect" option.
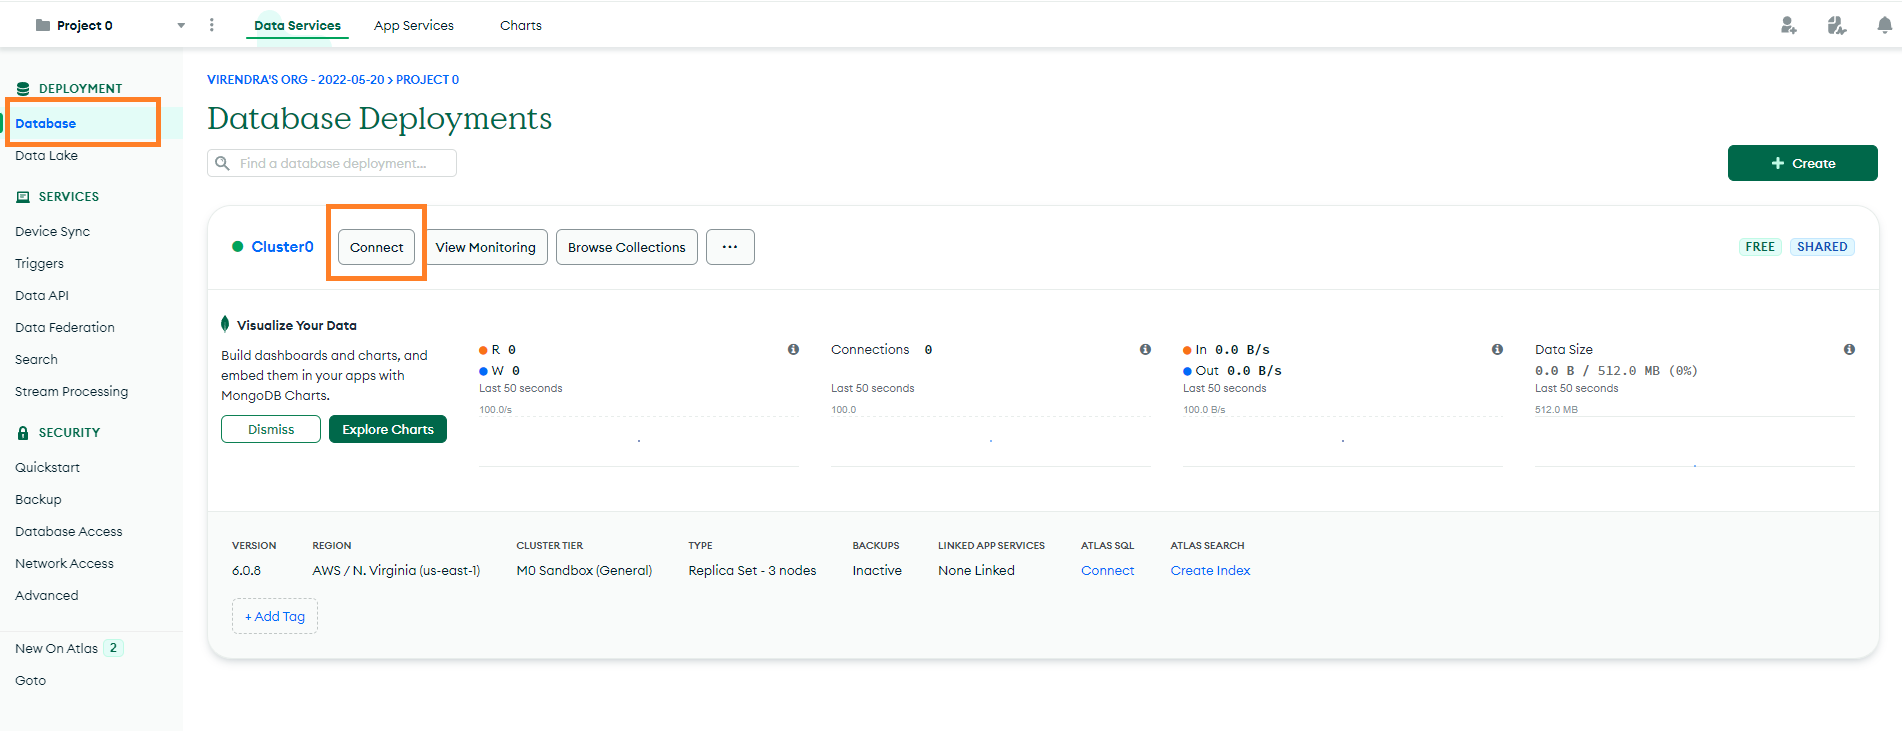
Step 12 : In this model, please click on the compass option.

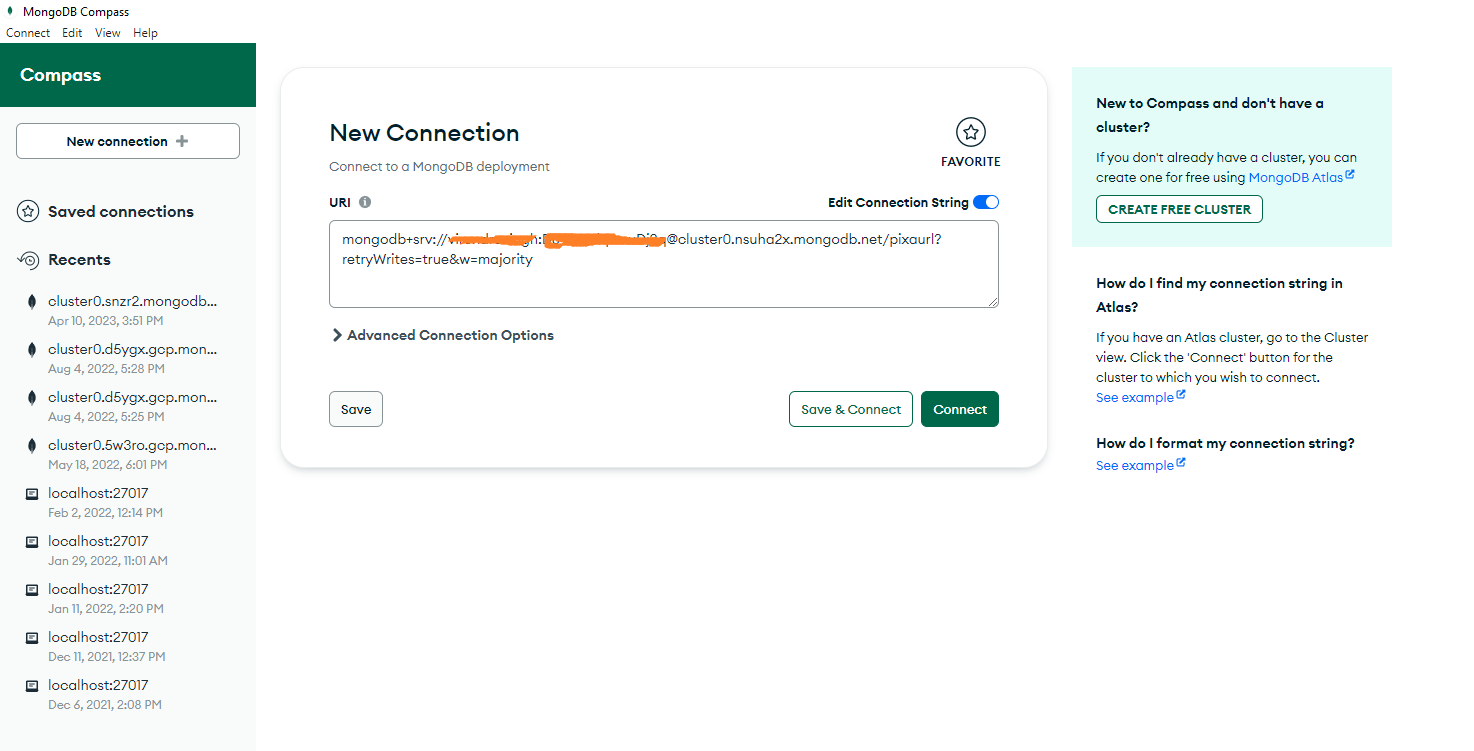
Step 13 : In this model, you will see the connection URL. Copy this URL.
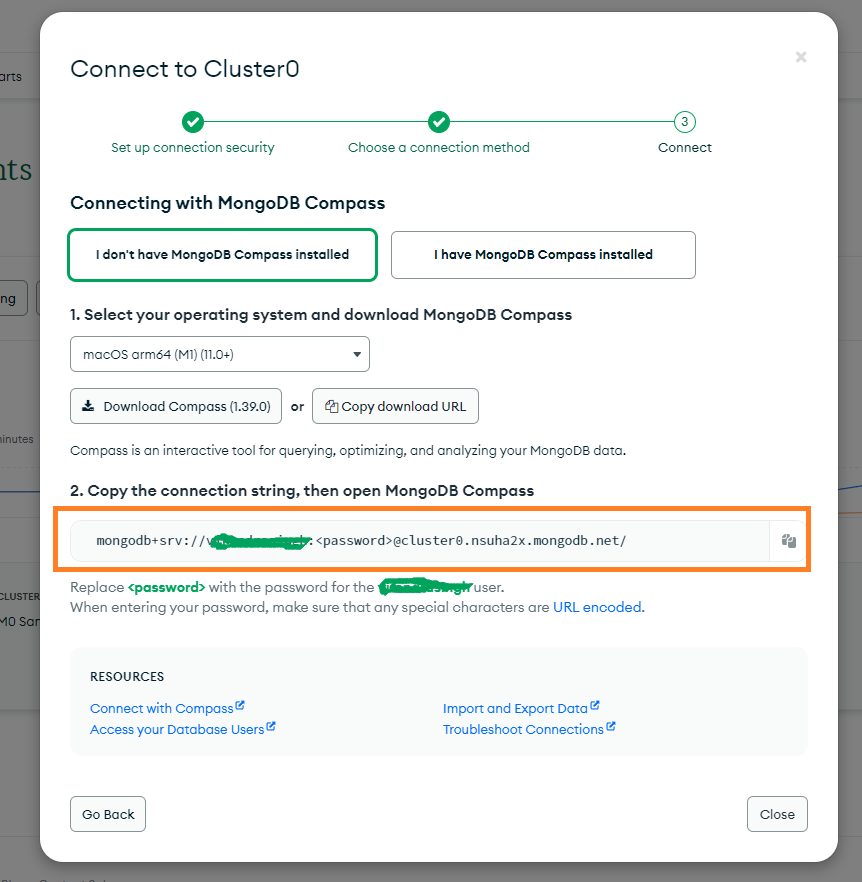
Step 14 : Now you will have your MongoDB connection URL.
| mongodb+srv://BookingHub:<password>@cluster0.nsuha2x.mongodb.net/ |
In this URL you have to add your username, password, and database name.
For Example :
Username = BookingHub, password = BookingHub@123 , Database name = BookingHub
The final MongoDB connection URL will be like this (Please update the correct details in this connection URL).
| mongodb+srv://BookingHub:BookingHub@123@cluster0.nsuha2x.mongodb.net/pixaurl?retryWrites=true&w=majority |
You have to add the MongoDB connection URL to the next.config.js file.
How to Edit Content of Frontend Website
1) Navigate to public >> home folder. Inside home folder you will get index.html file.
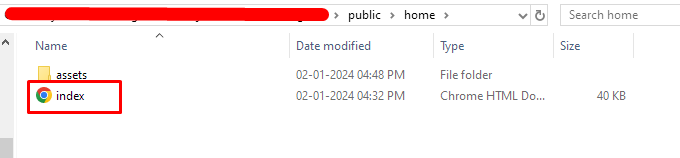
2) Open this file on any editor like Visual Studio Code or NotePad++. You can change the content of site as needed, by editing the index.html file.
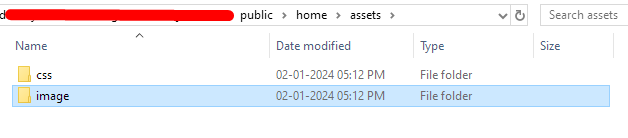
3) To change images, upload your image under the assets >> image folder.
How Subscription Plan Works
Admin can showcase the subscription plans on the frontend site and user can subscribe for any plan through frontend site only.
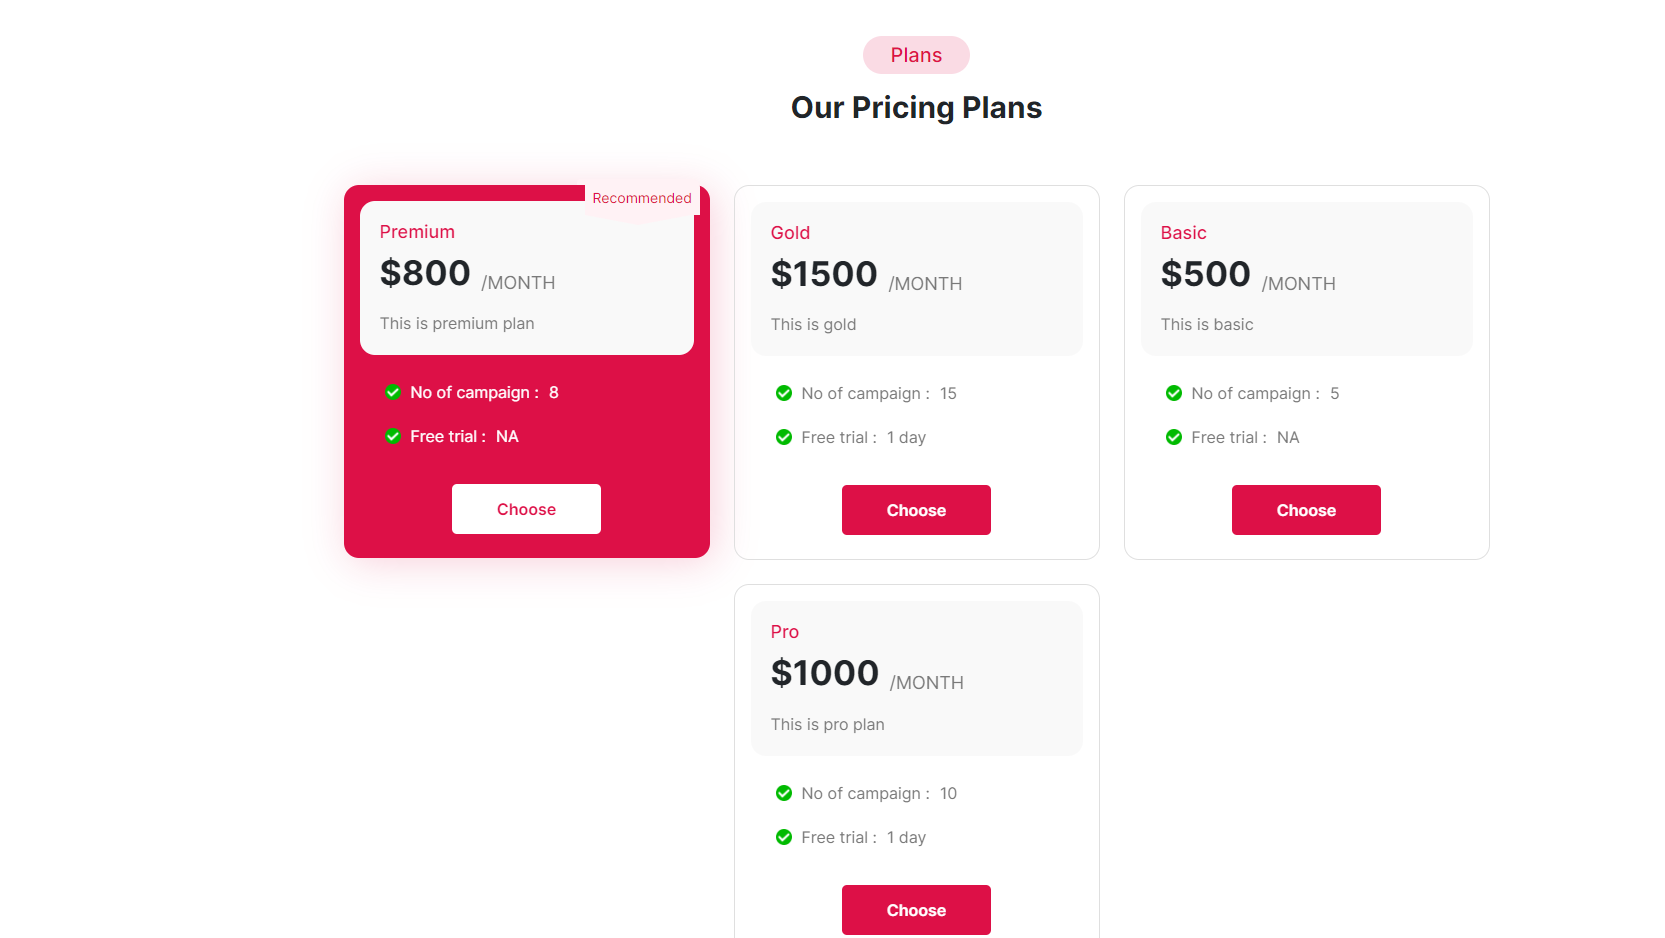
For this user need to hit Choose button, and will be redirected to the Register Page. After filling all the details, click on Make Payment button.
Then, User will get option to choose the suitable Payment Method.
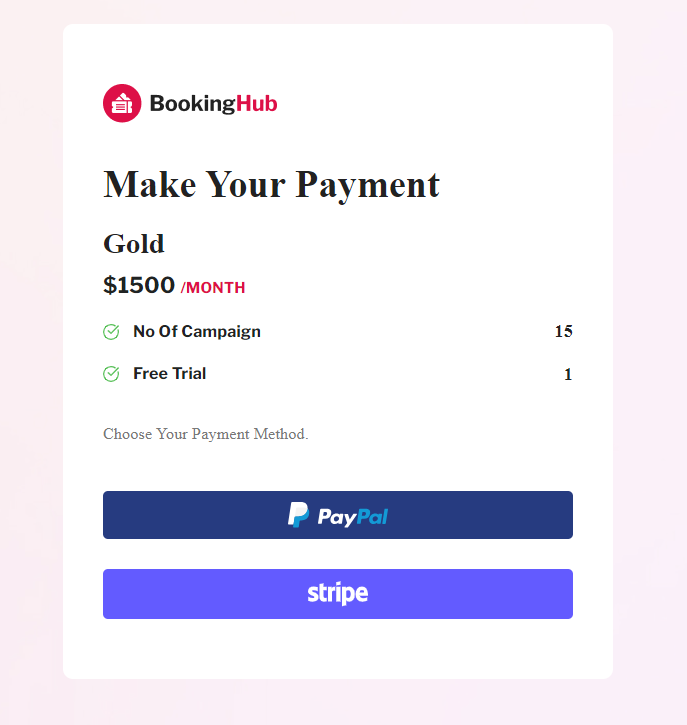
After successfull payment, user can access the dashboard as per the features available in the subscribed plan.
Admin Dashboard
Admin Dashboard comes with the various backend settings to manage the platform.
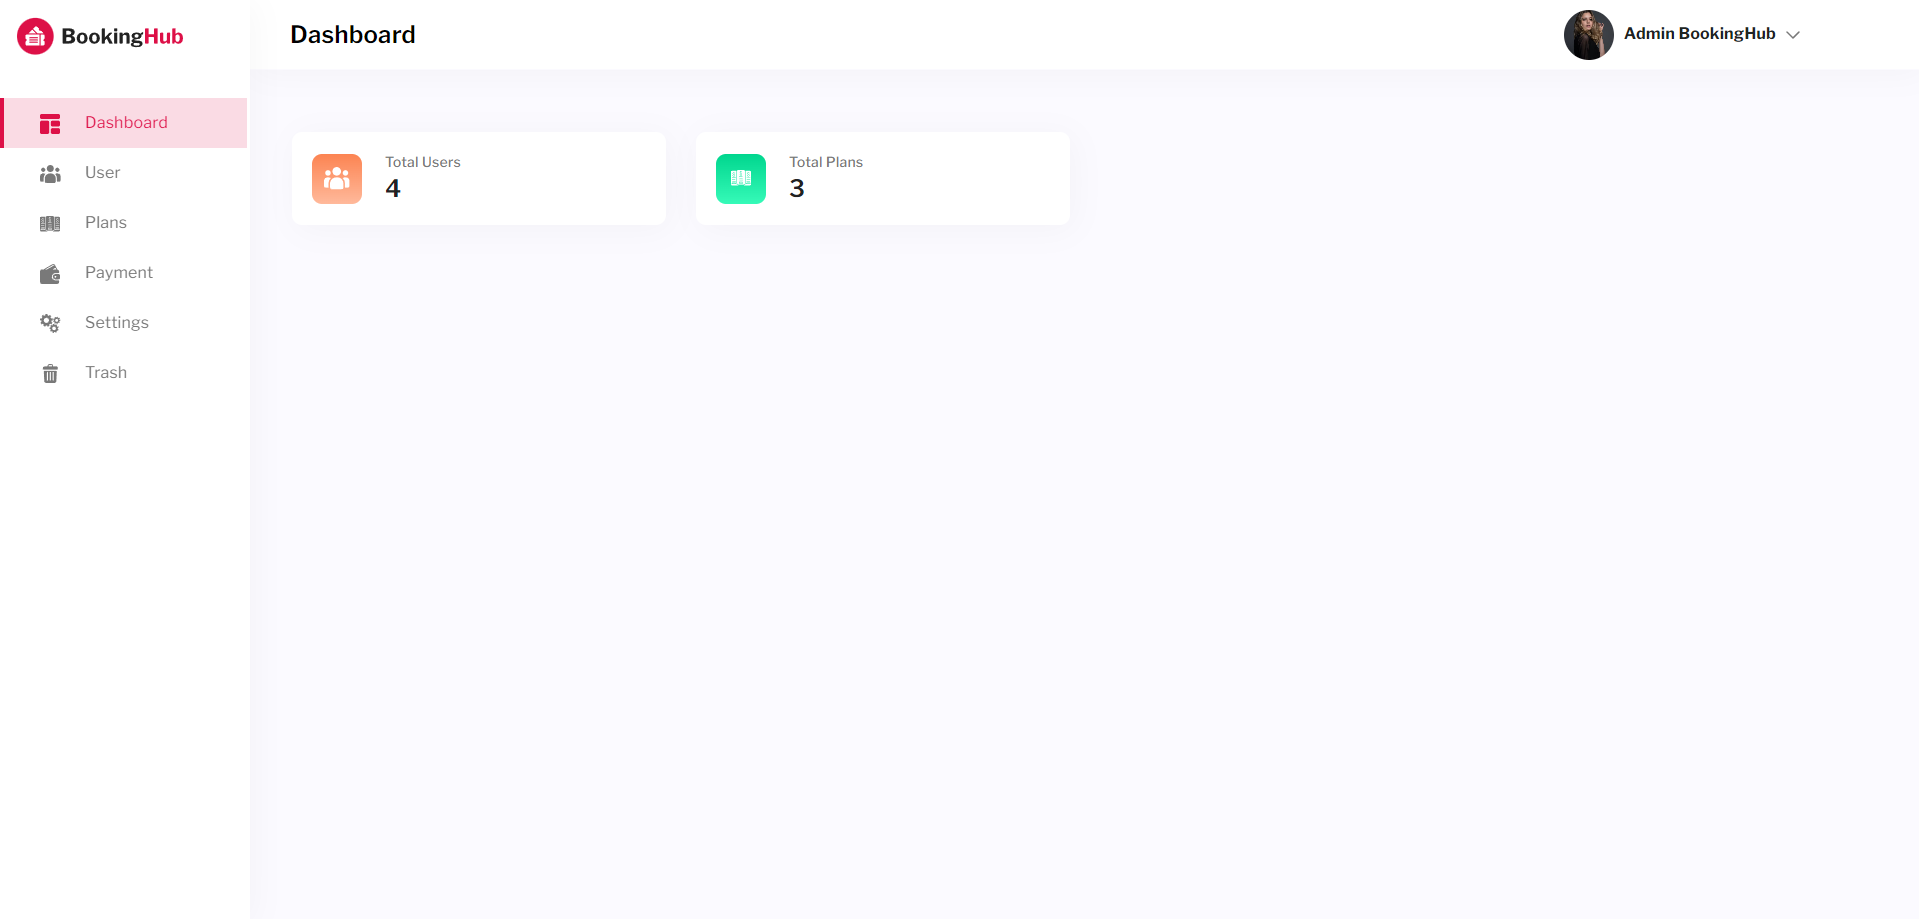
DashBoard
Admin dashboard settings contain the counts of Total Users and Total Plans.
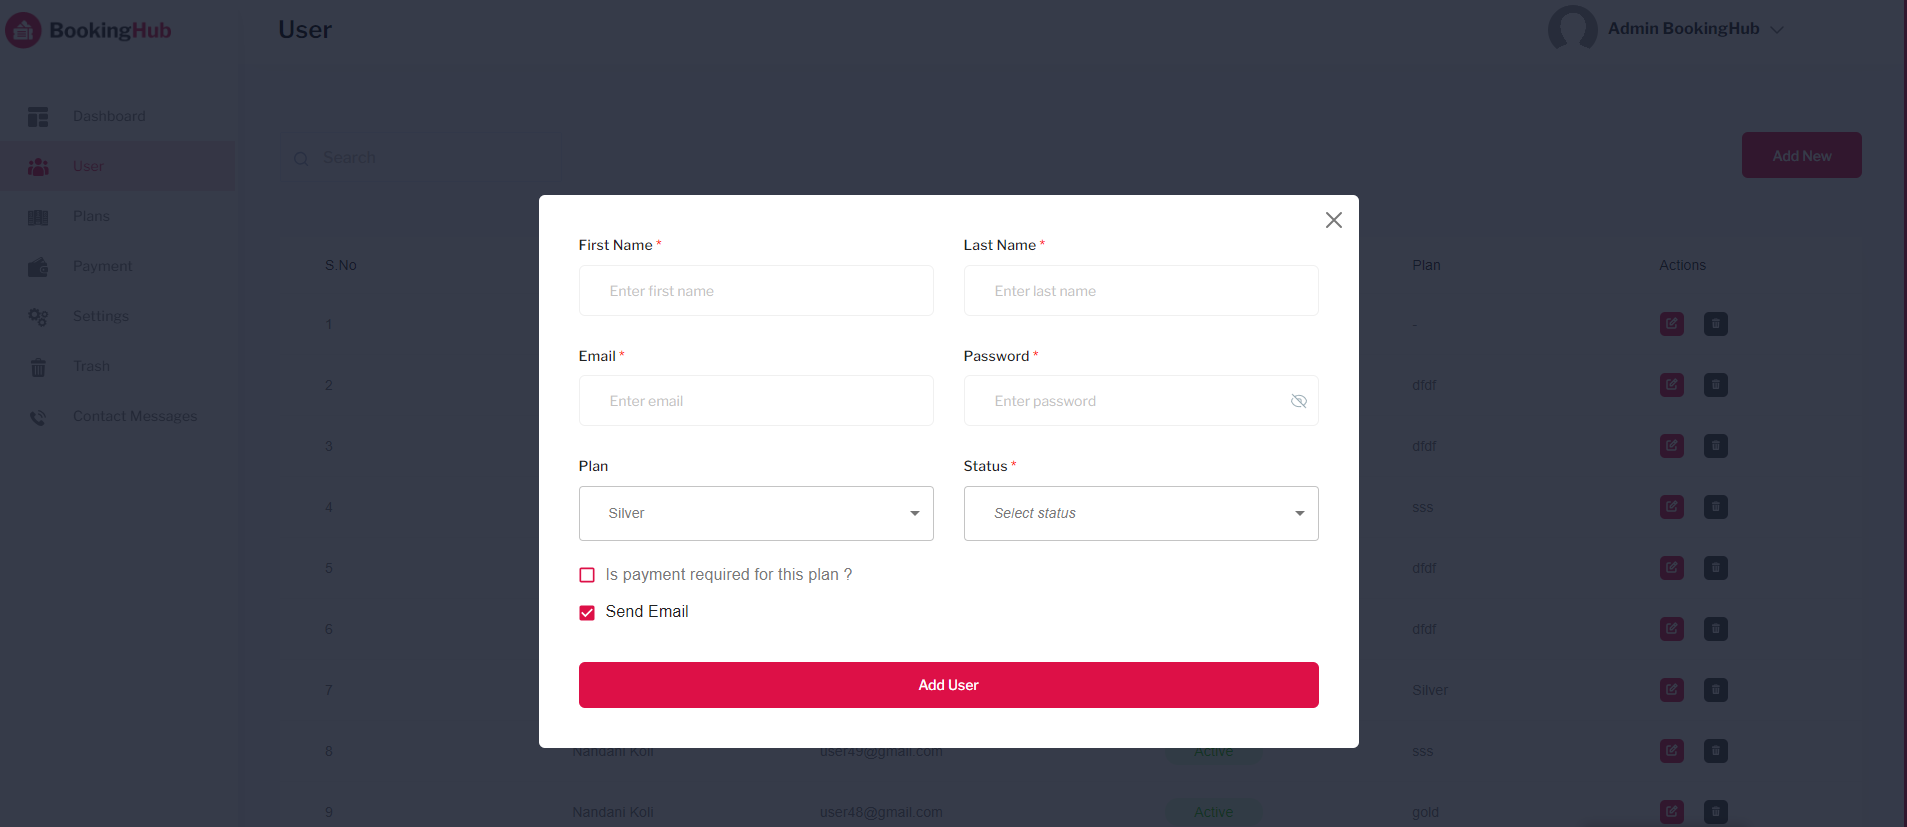
Users
It will show the list of all users. The admin can also view, add, edit, delete the existing users.
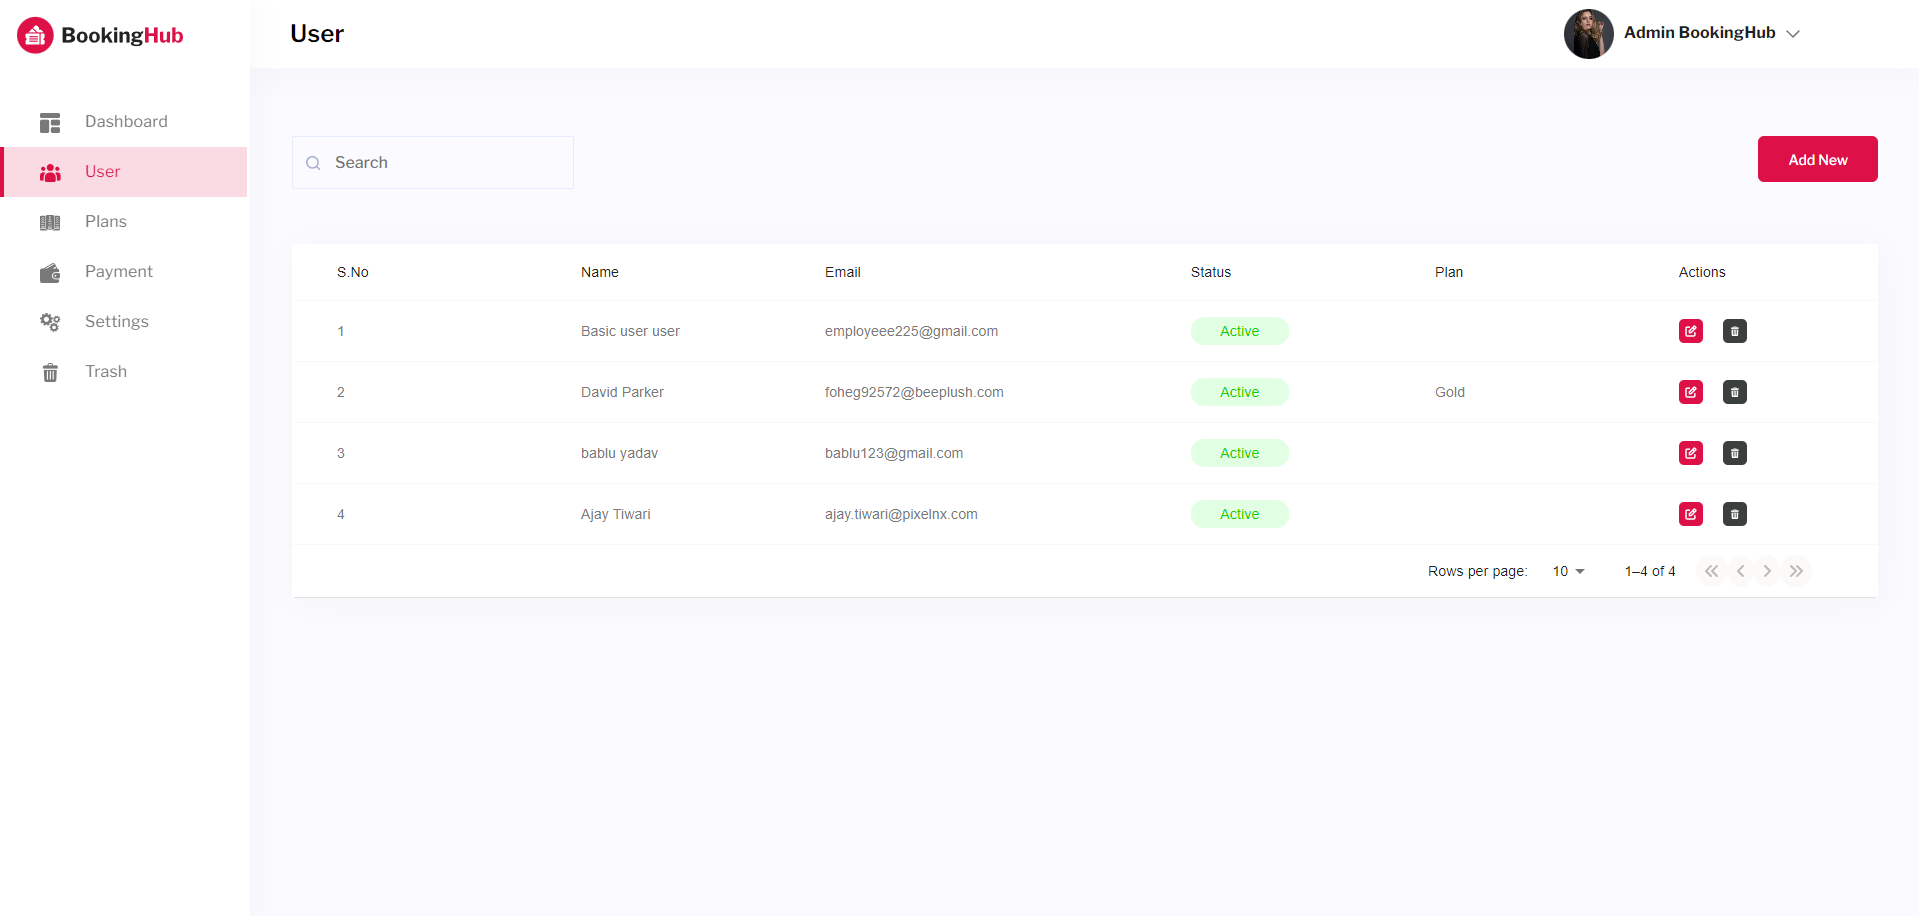
While adding user, admin can assign plan to users. And if admin want user can access the features of the plan without making payment, then you can keep the option "Is Payment required for this plan" as unchecked.
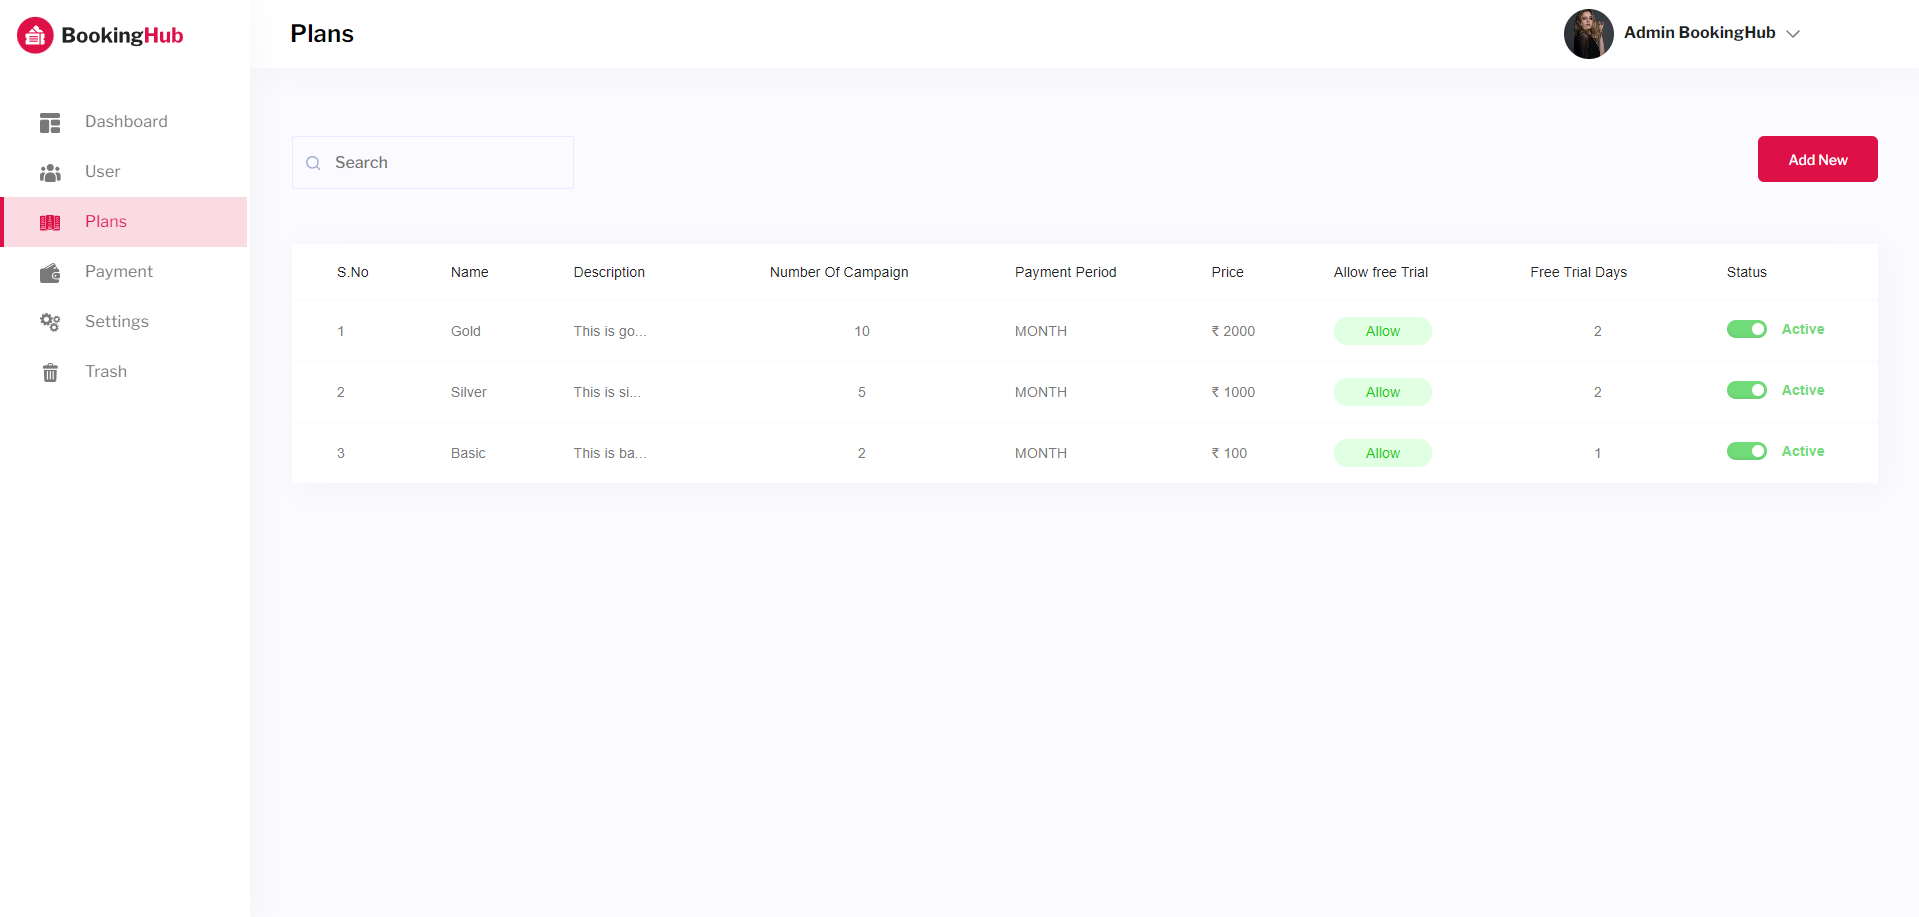
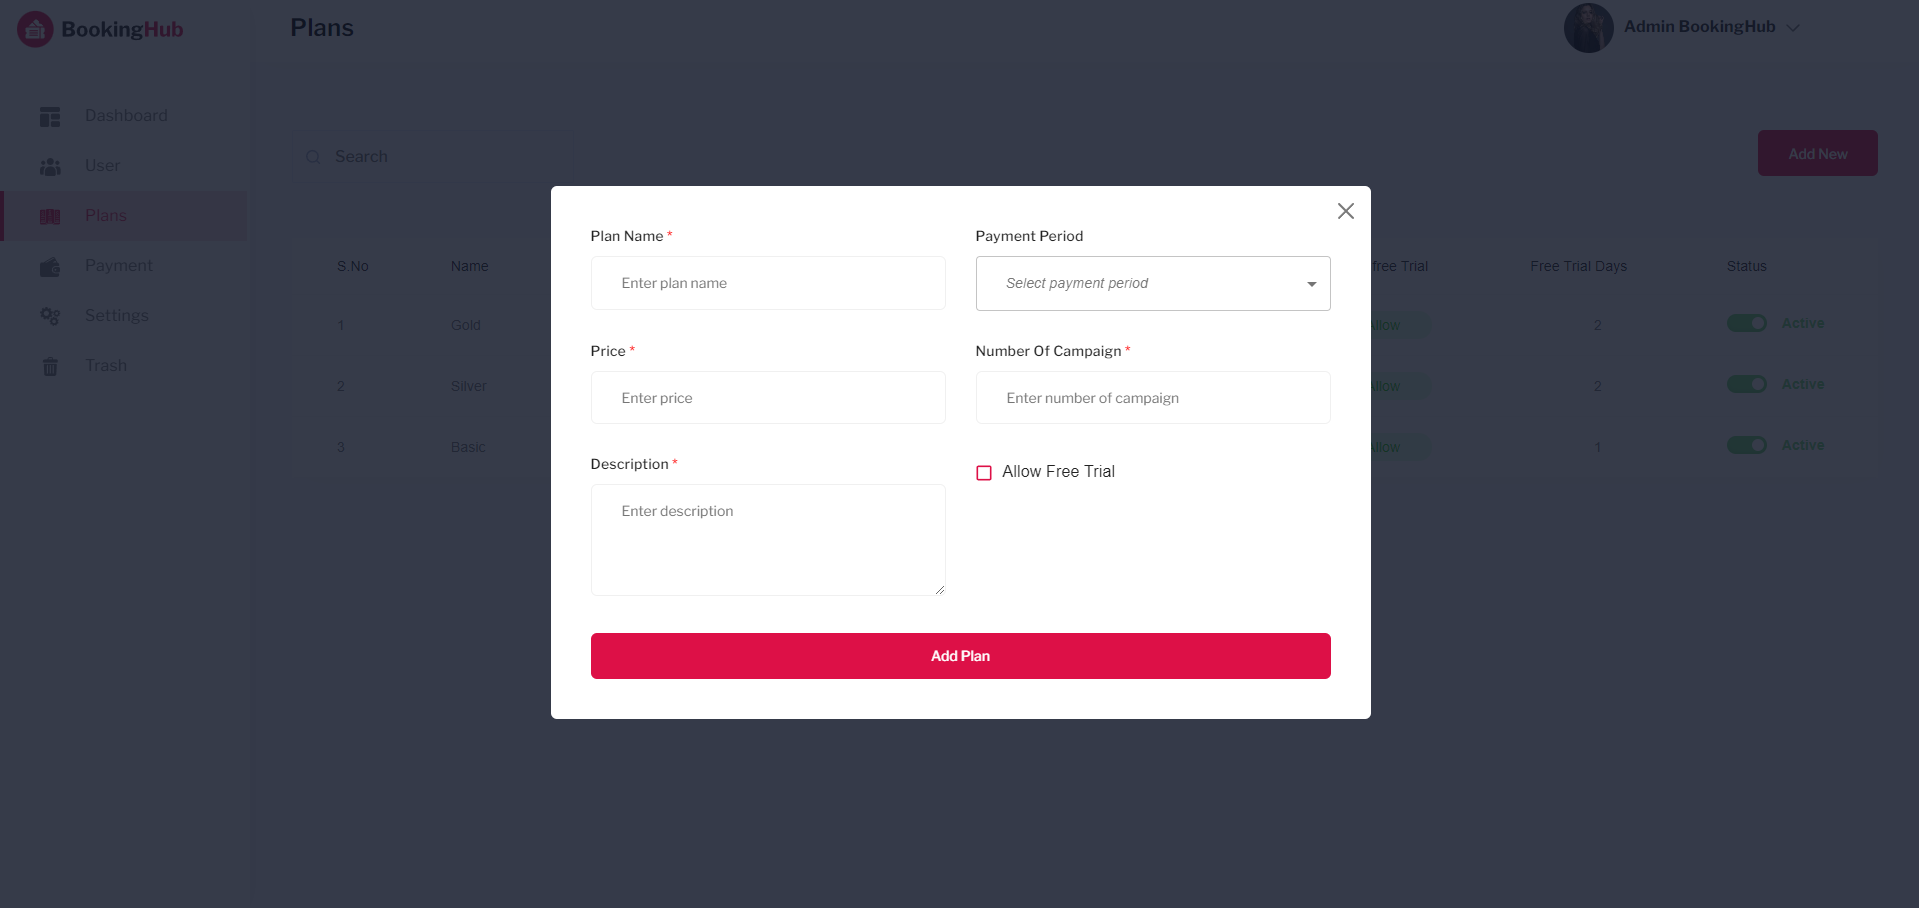
Plans
Using the Plan setting, you can create new plan, and change status of existing plan.
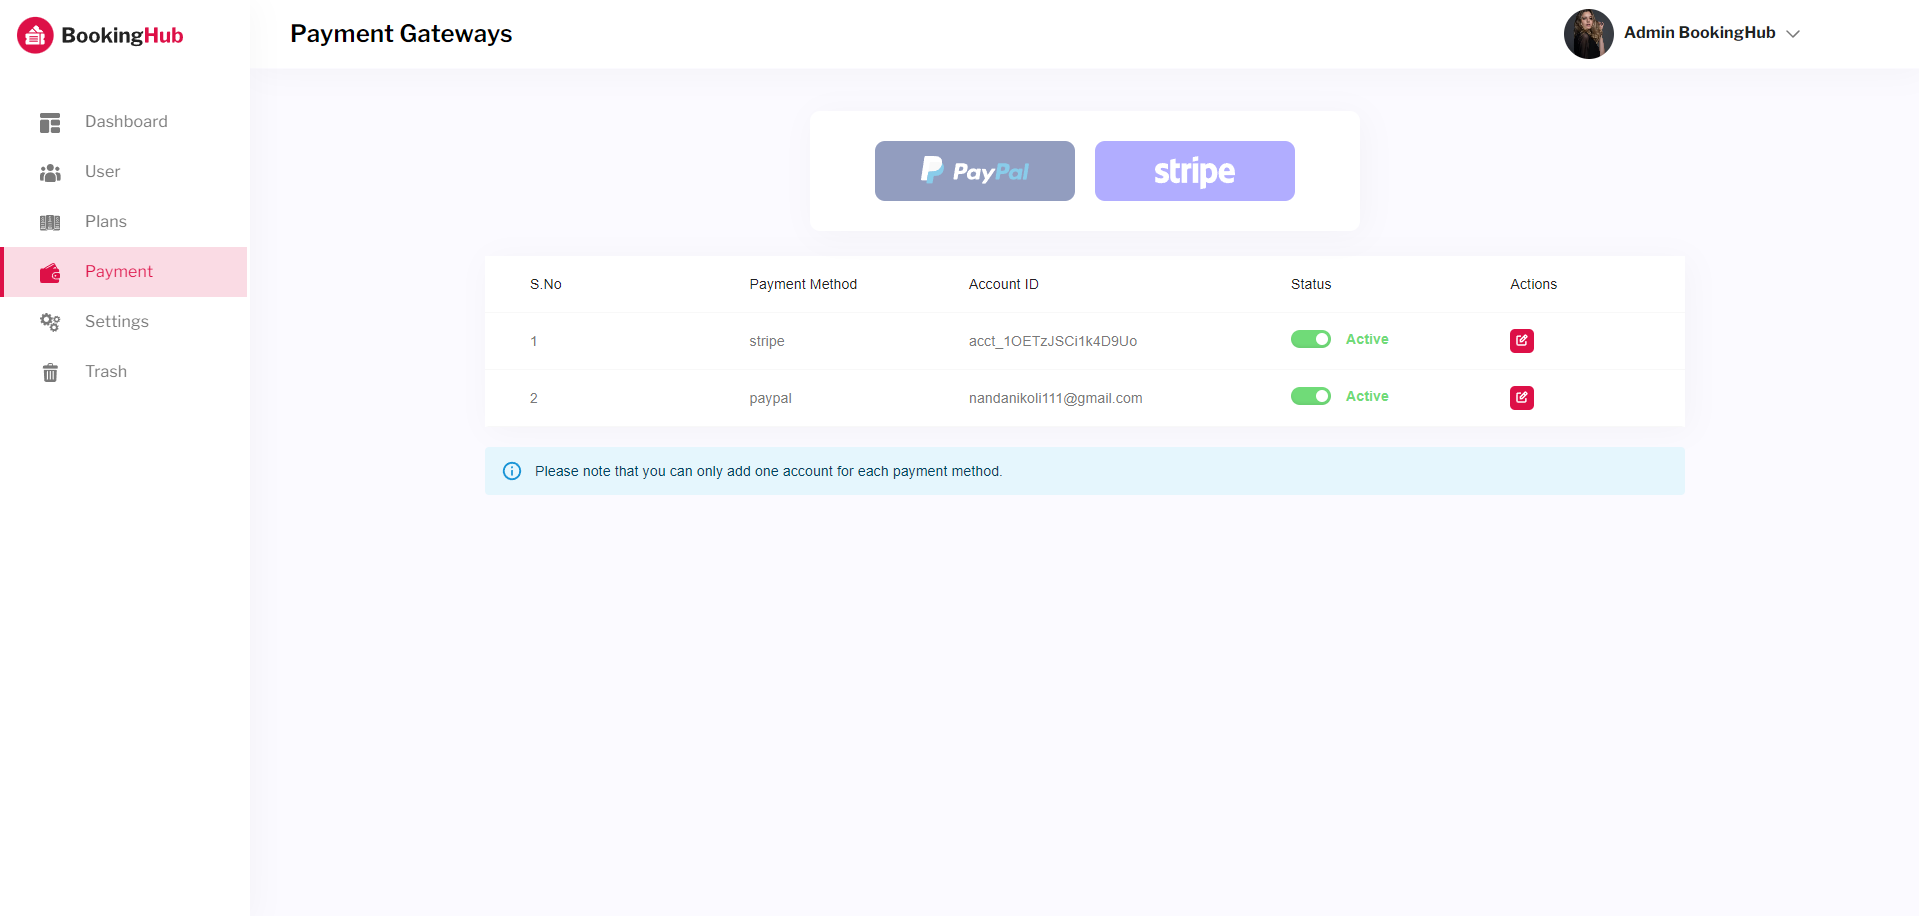
Payment
Using the Payment setting, you can integrate payment Method, and change status of existing payment Method.
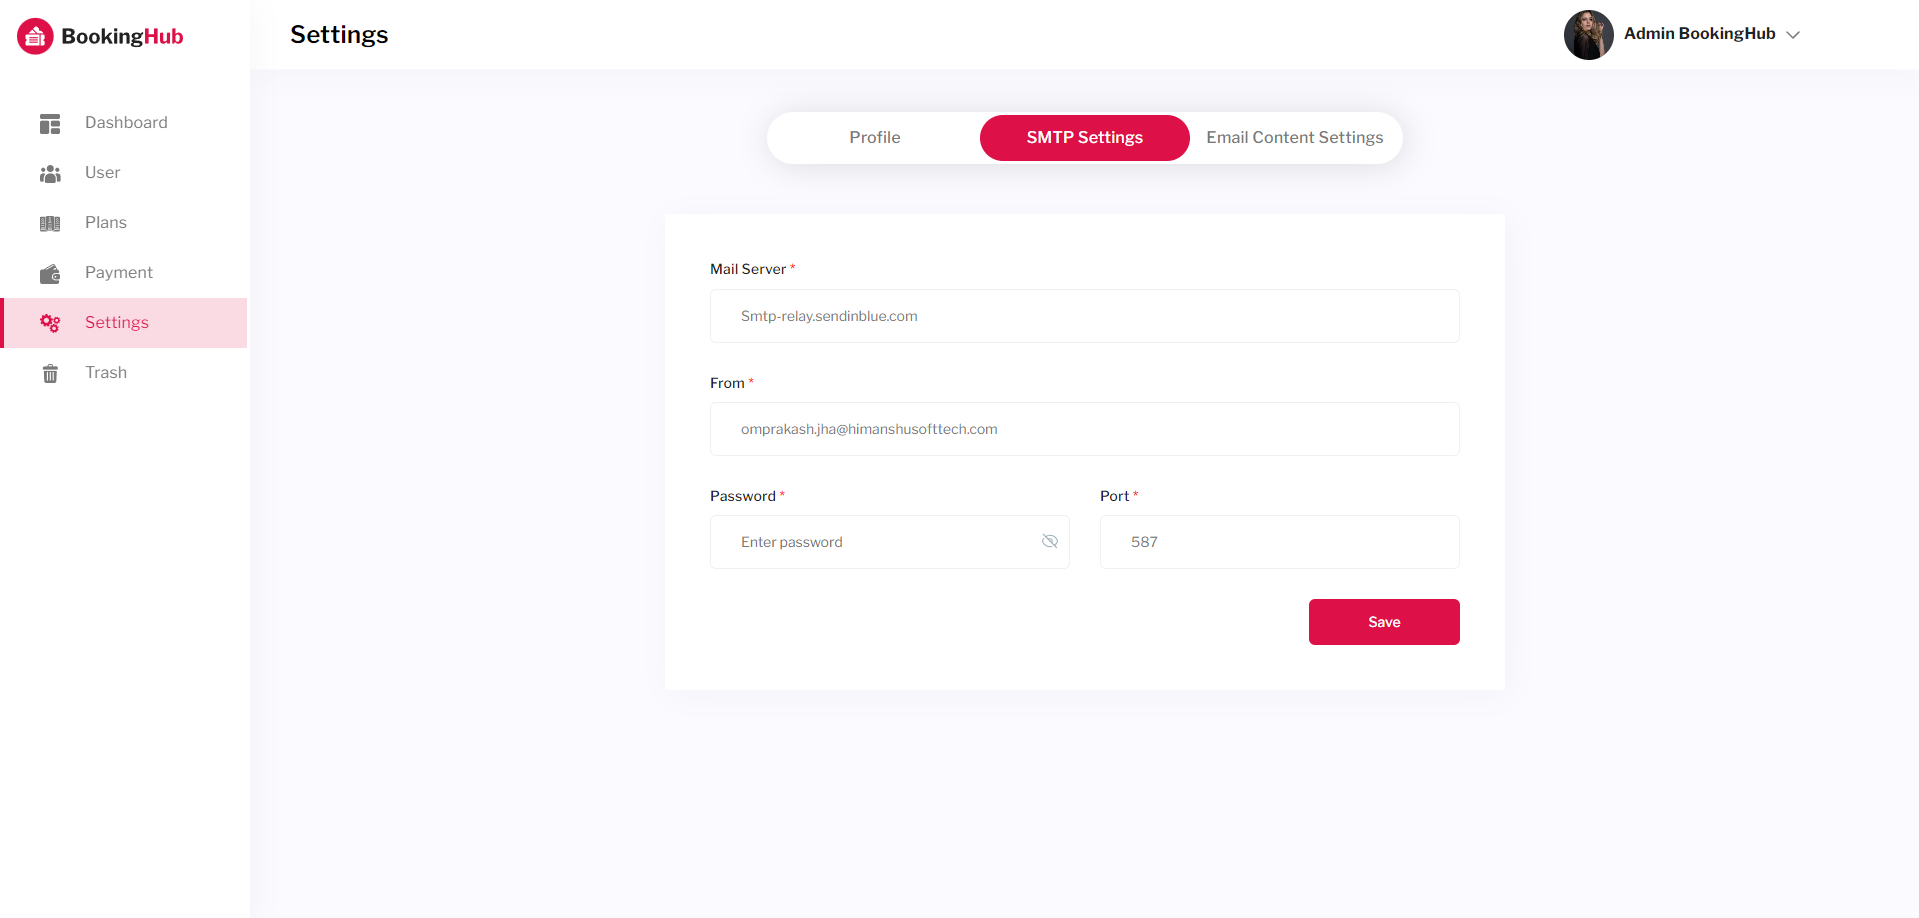
Settings
Using the setting options, you can change profile information, add SMTP details, and edit Email content.
Profile - You can customize the profile information here.

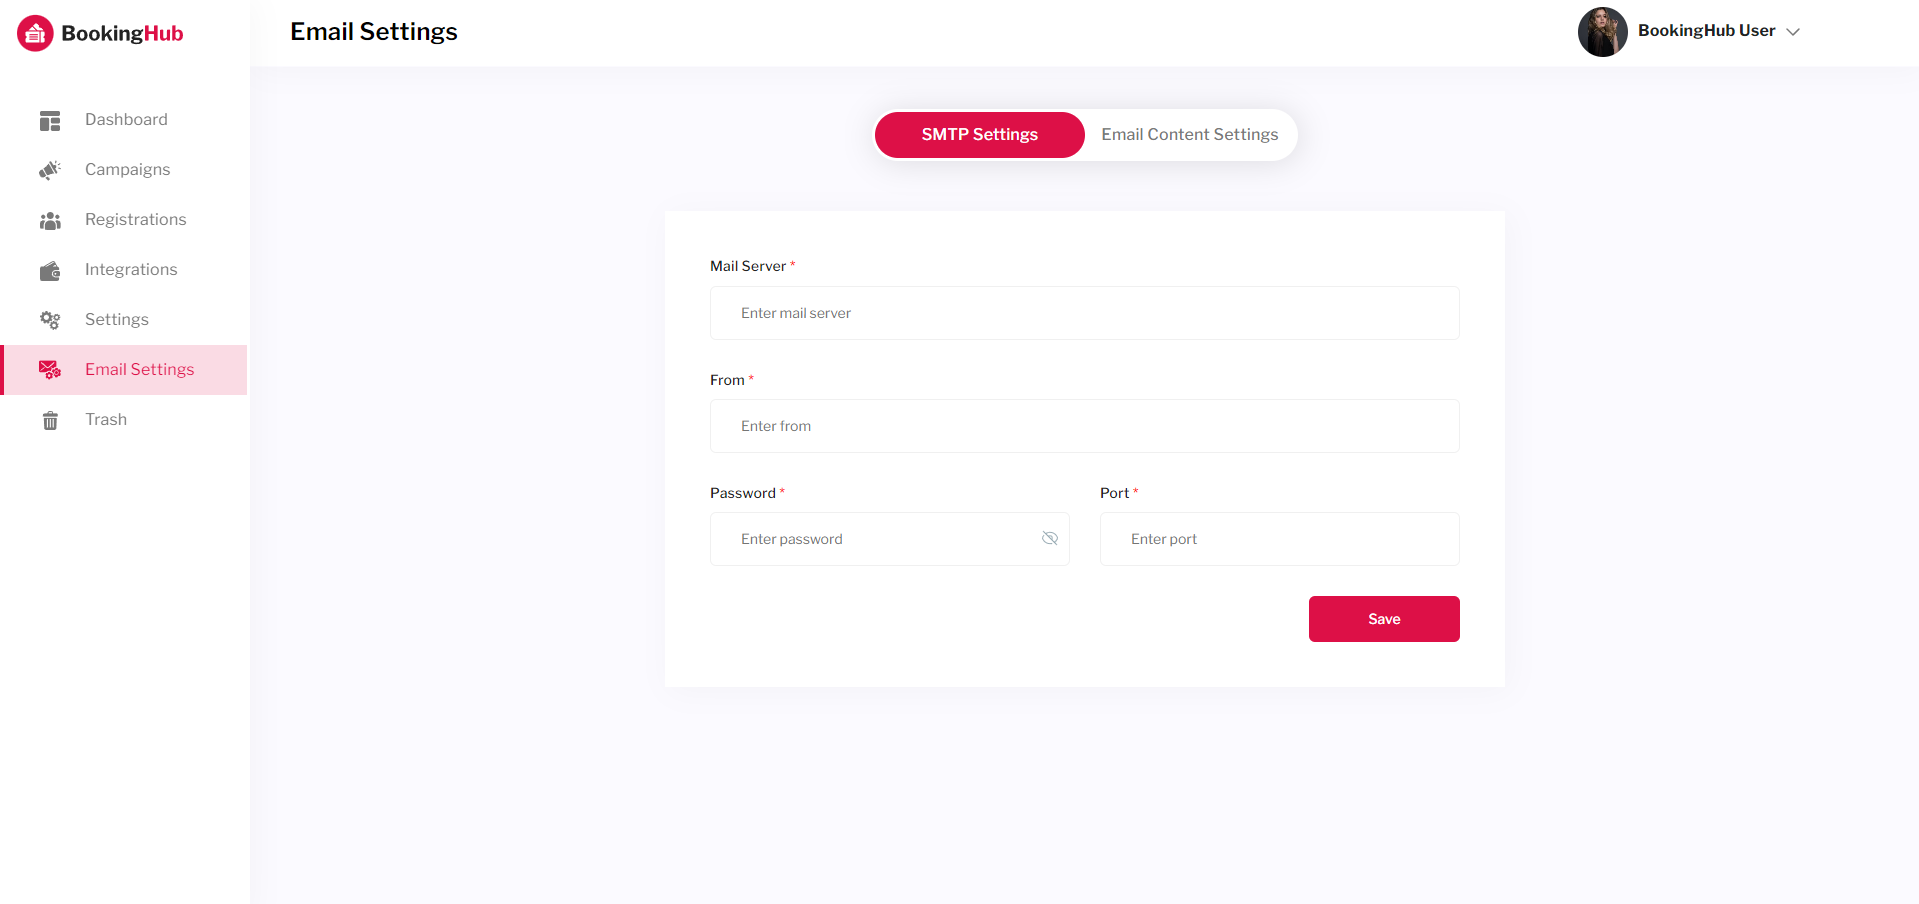
SMTP Settings - With this setting, you can enter SMTP details for sending mails.
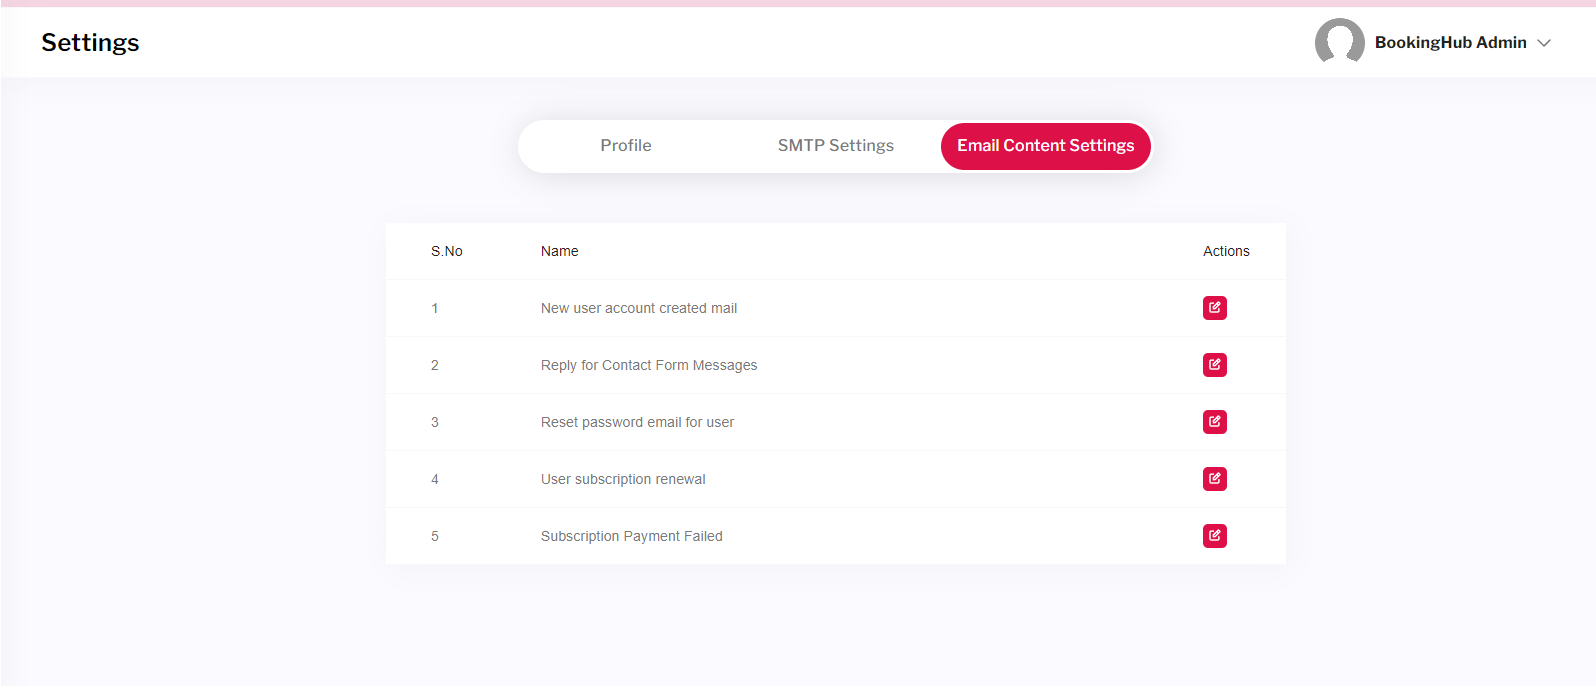
Email Content Settings - Through this setting, you can edit the content of New User Creation, Reply For Contact Form Message, Reset Password, User's Subscription Renewal and Subscription payment Failed.
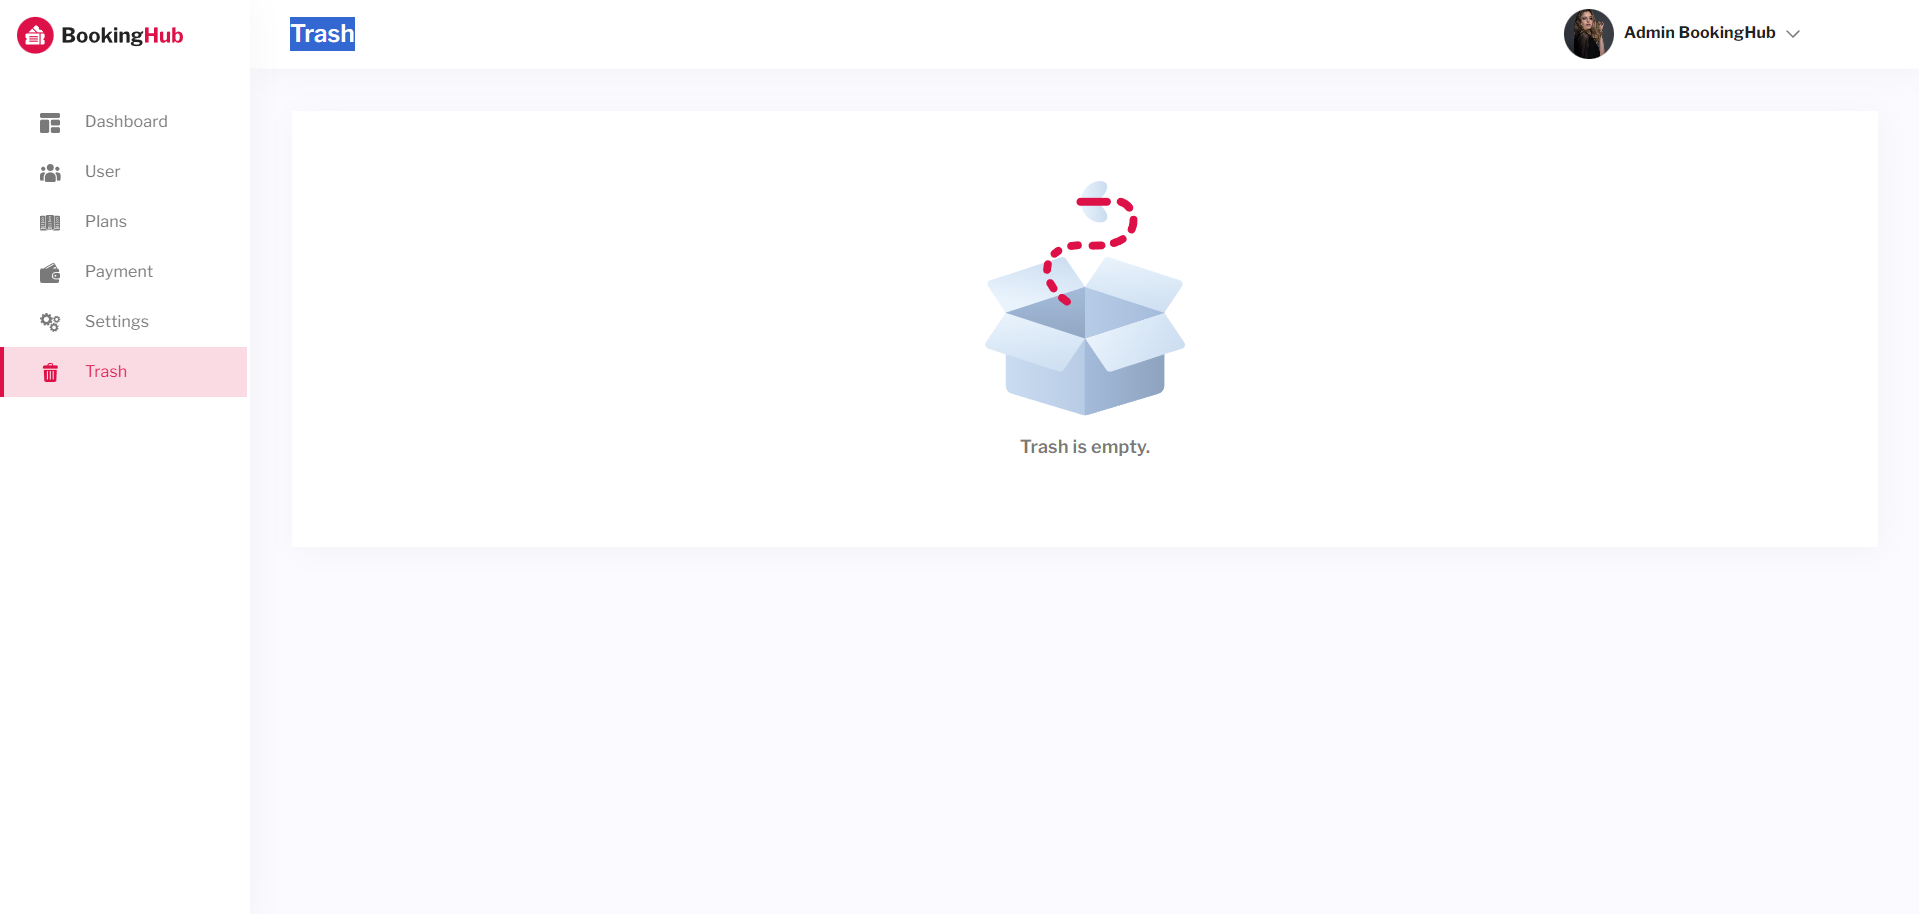
Trash
This setting will show the deleted users.
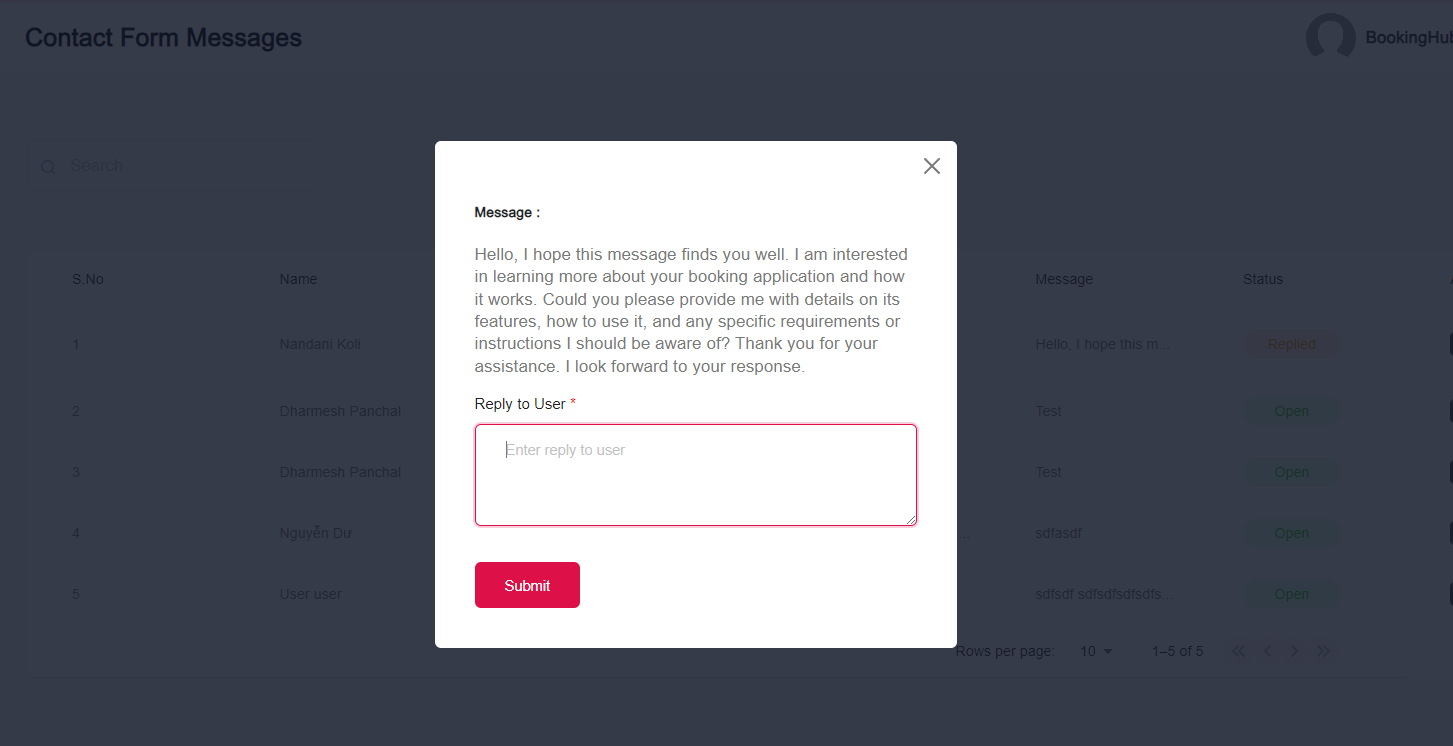
Contact Messages
This setting will show the details of the messages comes from the Contact Form and admin can also give the reply to the users.

User Dashboard
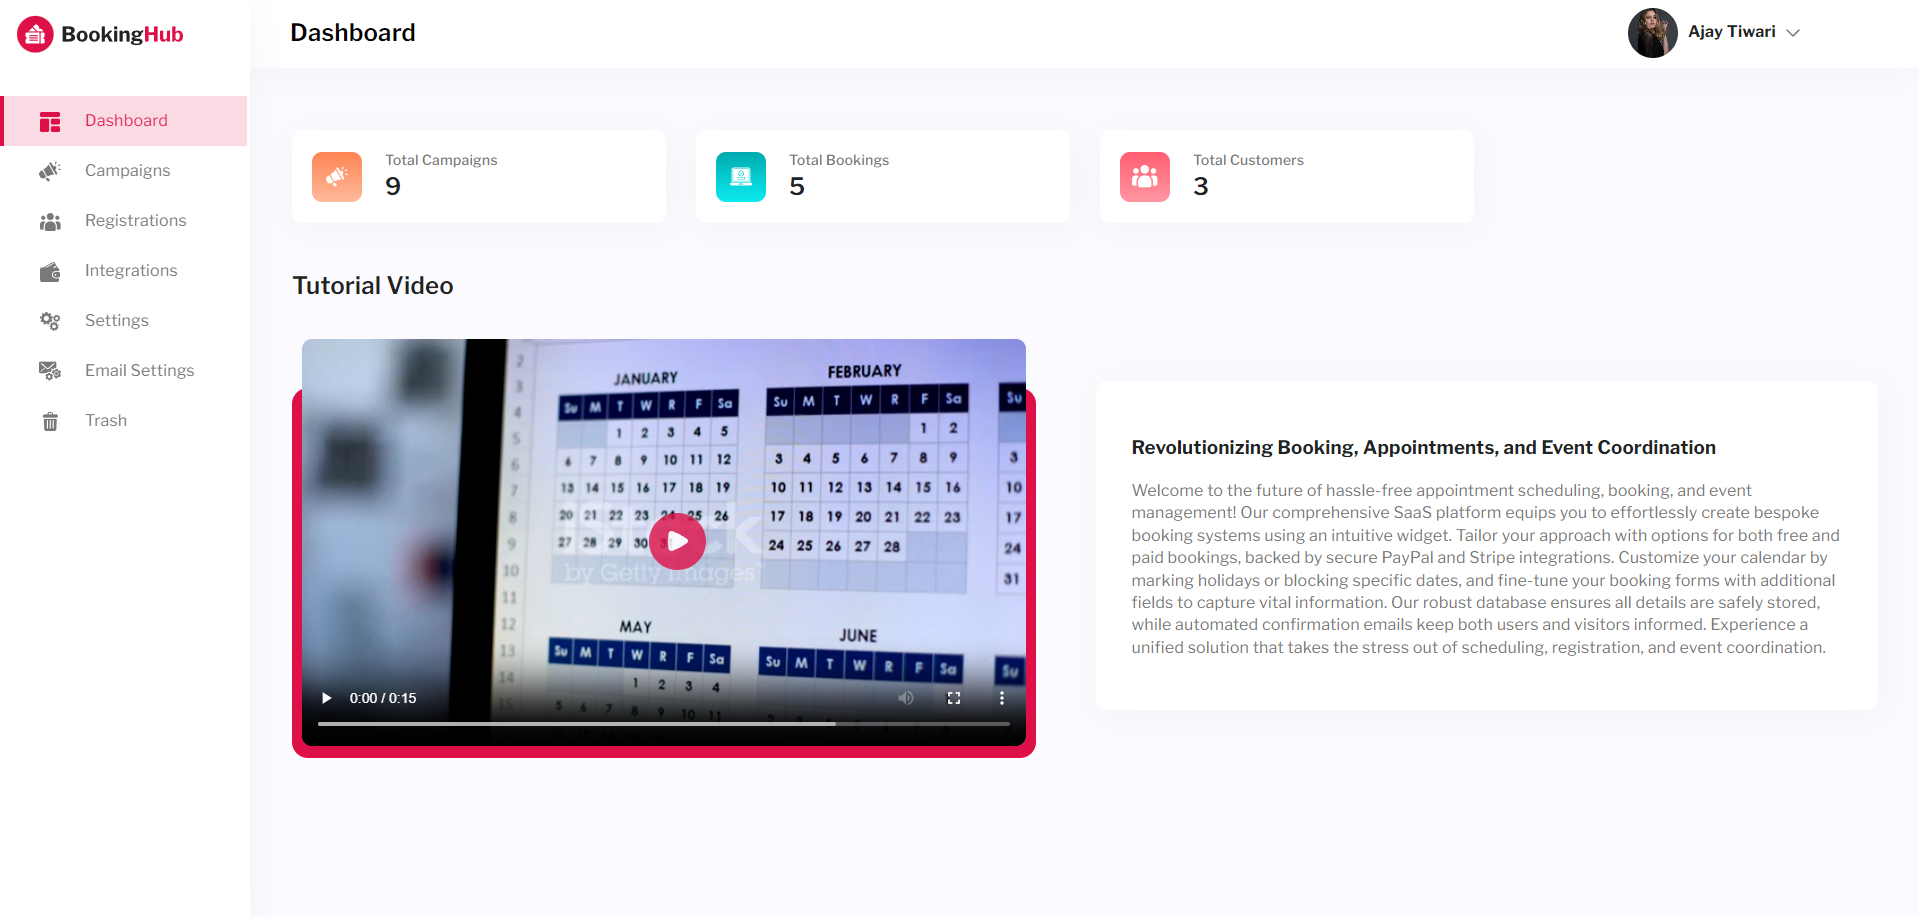
Dashboard
User dashboard settings contain the counts of Total Campaigns, Total Bookings, Total Customers.
Campaigns
It will show the list of all campaigns. The user can also view, add, edit, delete the existing campaigns.
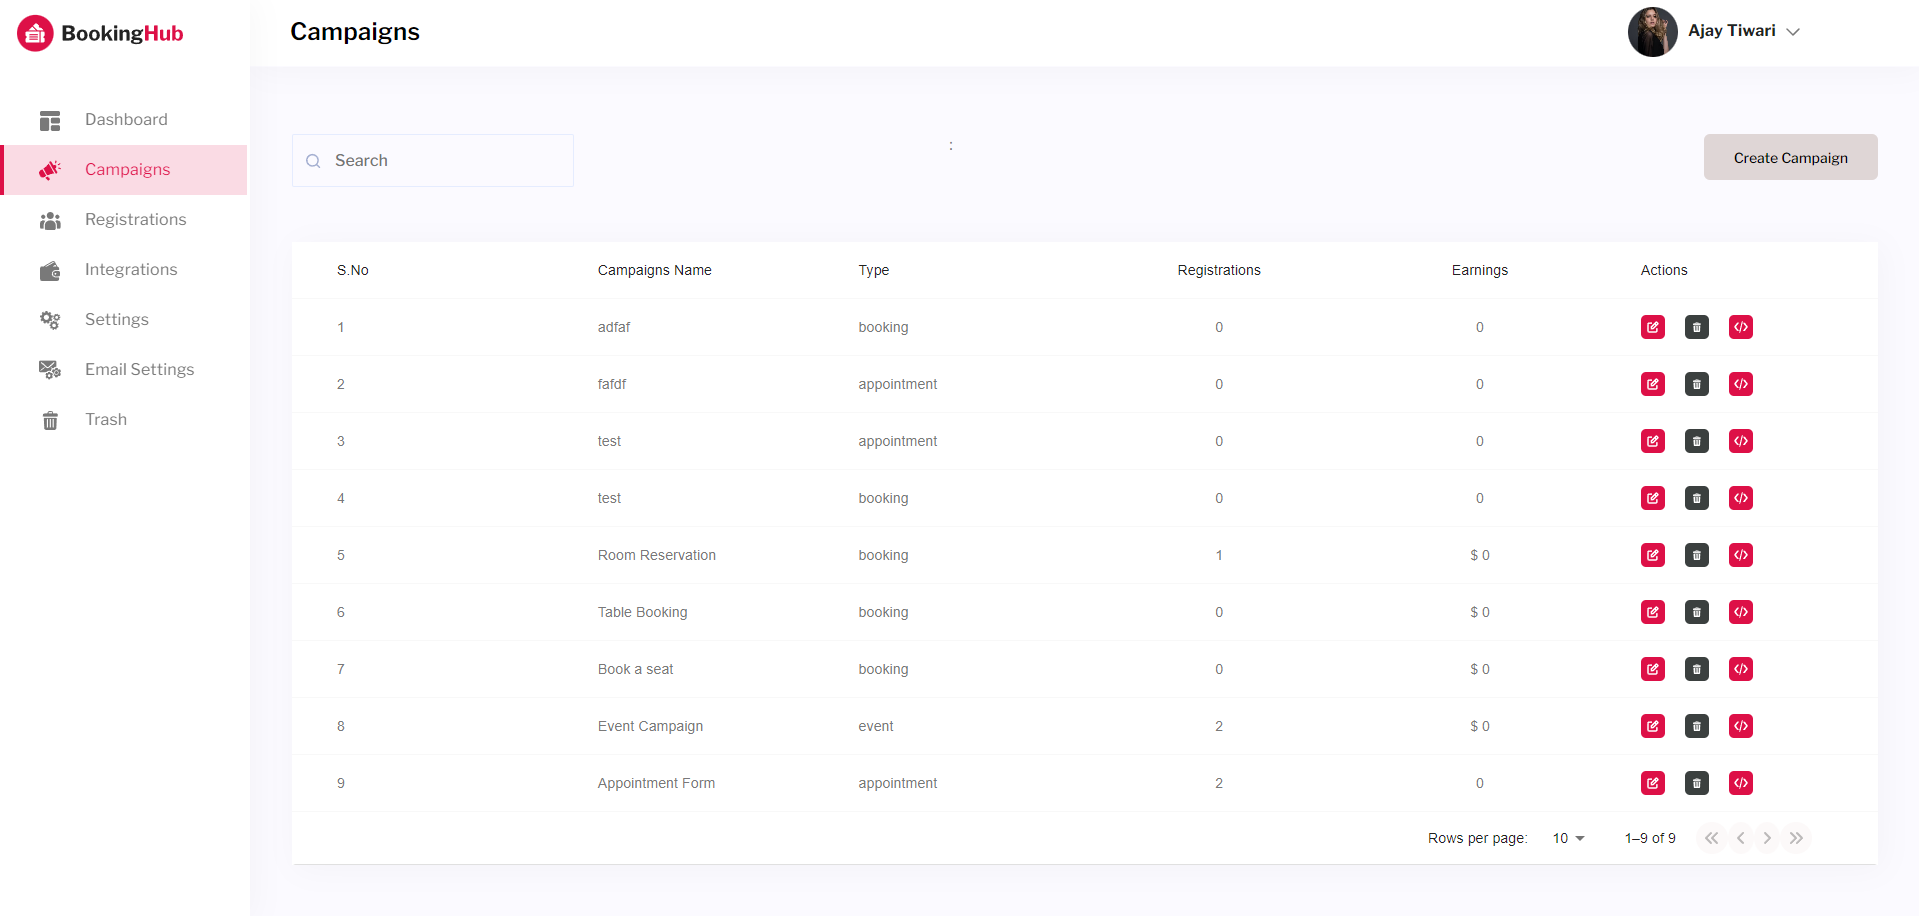
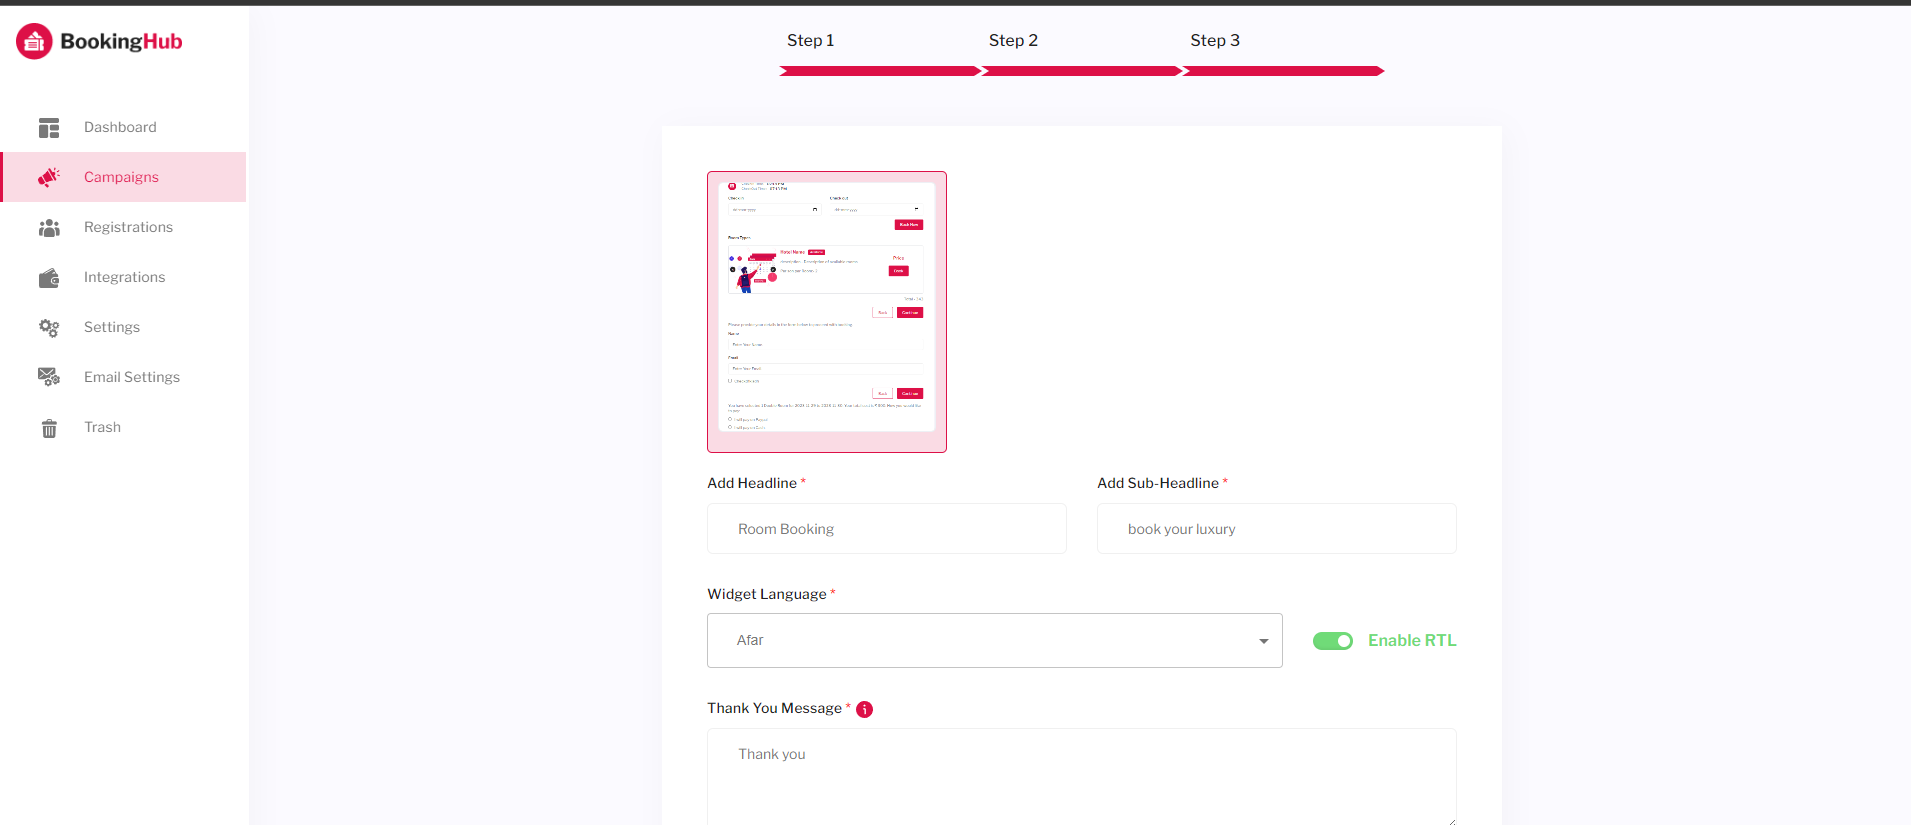
Add New Campaign To add new Campaign click on Create Campaign button and proceed step by step.
Here you can select the language for the campaign. The language can be added through the Setting Option >> Widget Language. The added language will appear in the capmaign creation form. User can select any desired langauage.
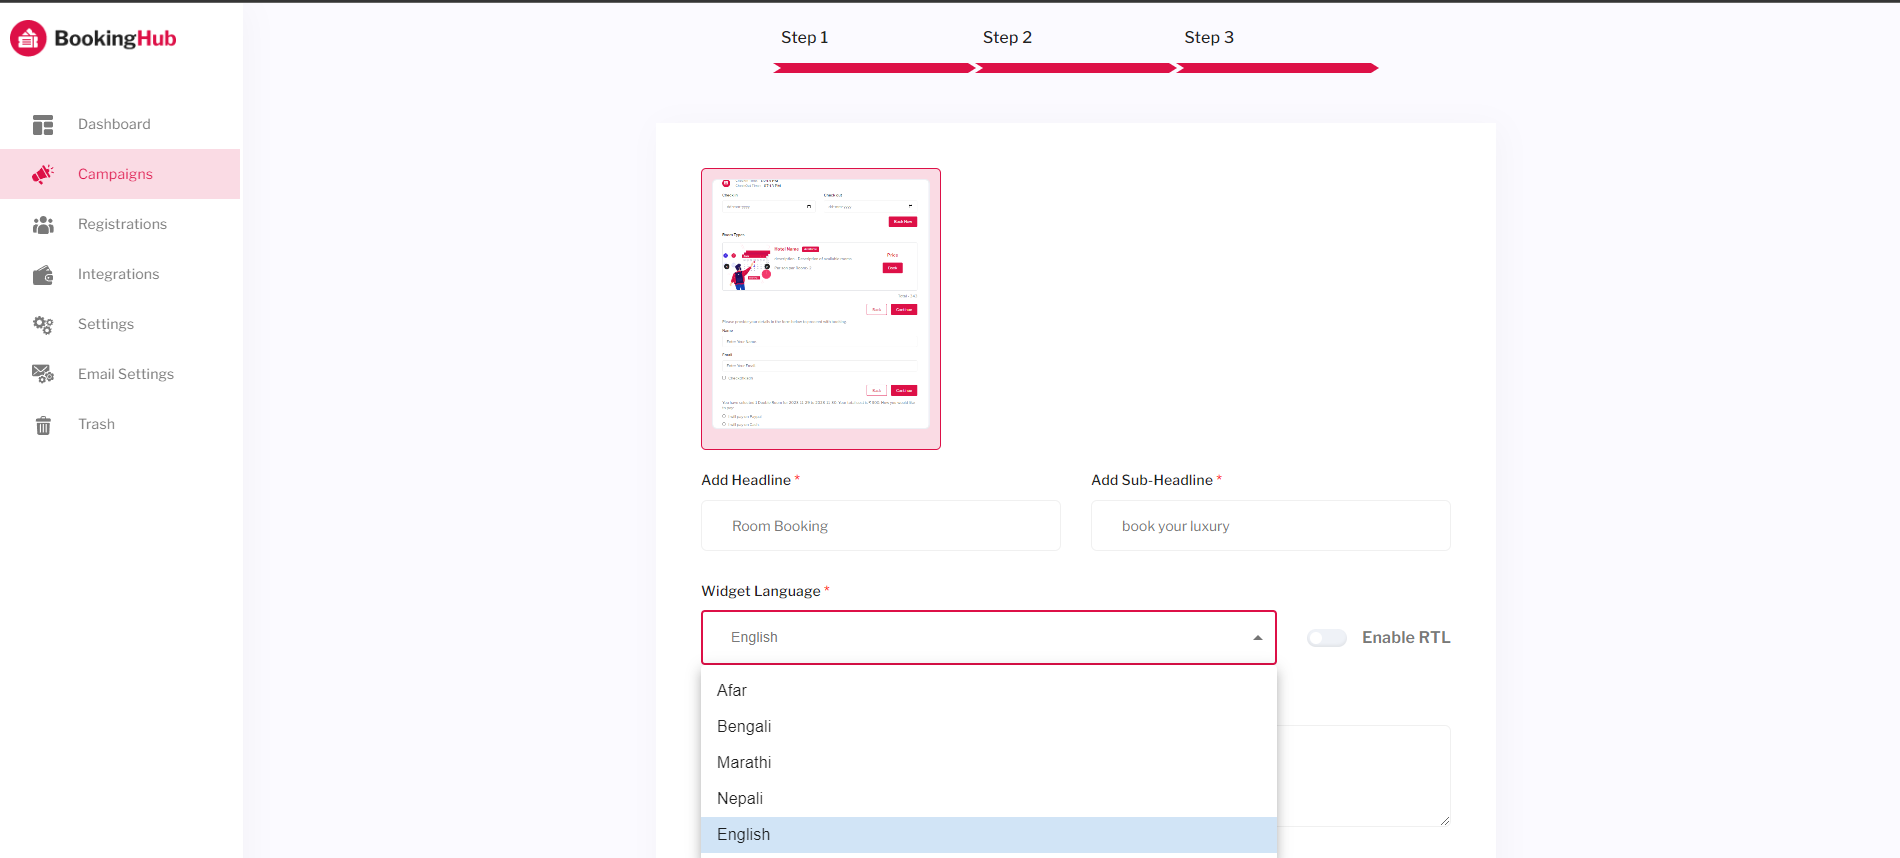
User can also enable RTL option while creating campaign.
Registrations
With this setting, user can see the details of the registrations of the different campaign type.

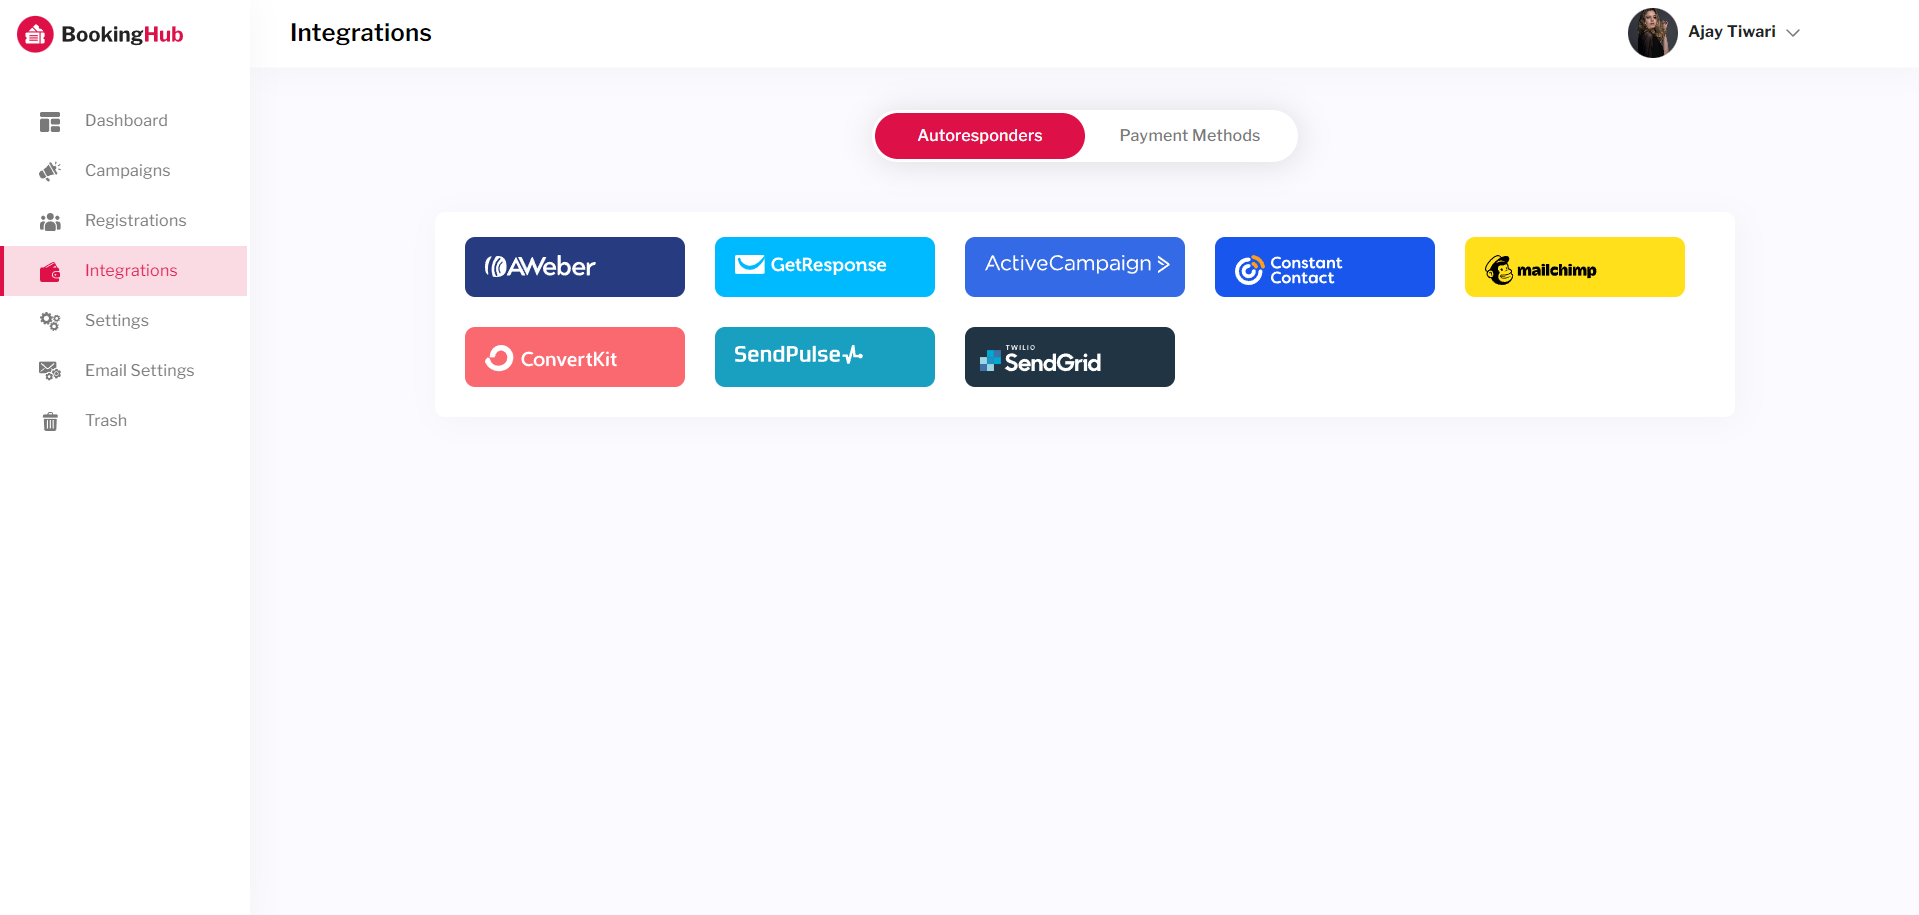
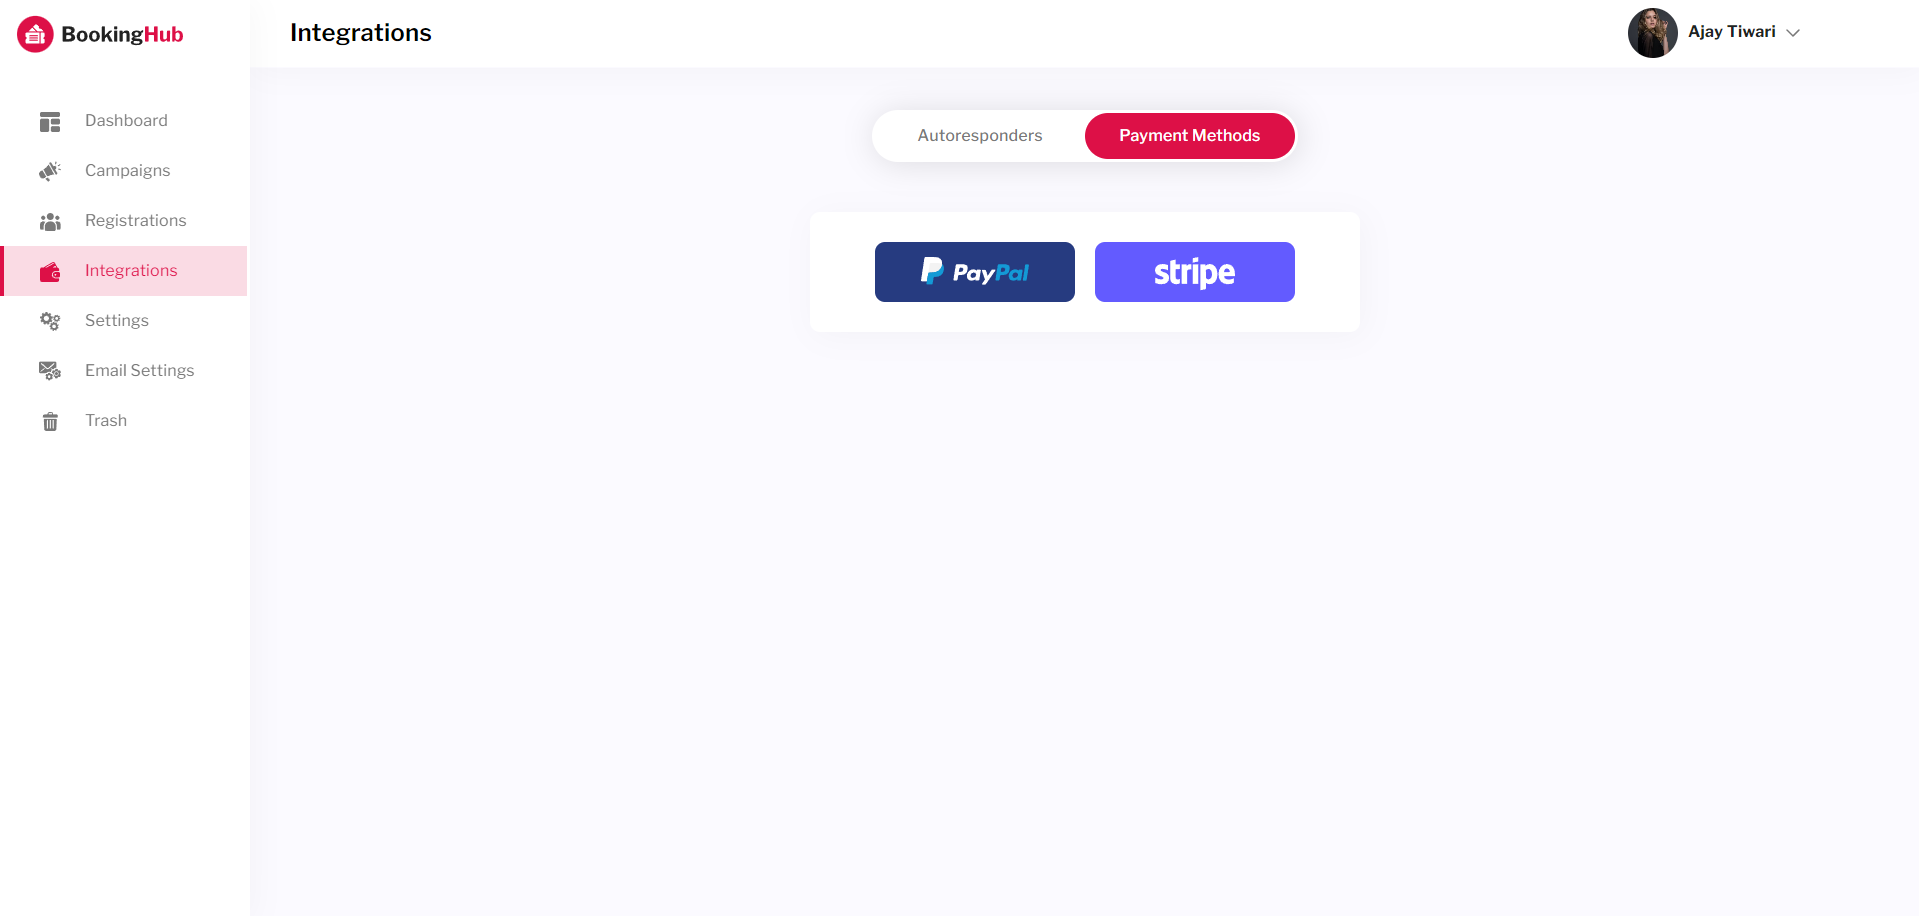
Integrations
With this setting, user can integrate the Autoresponders and Payment methods.
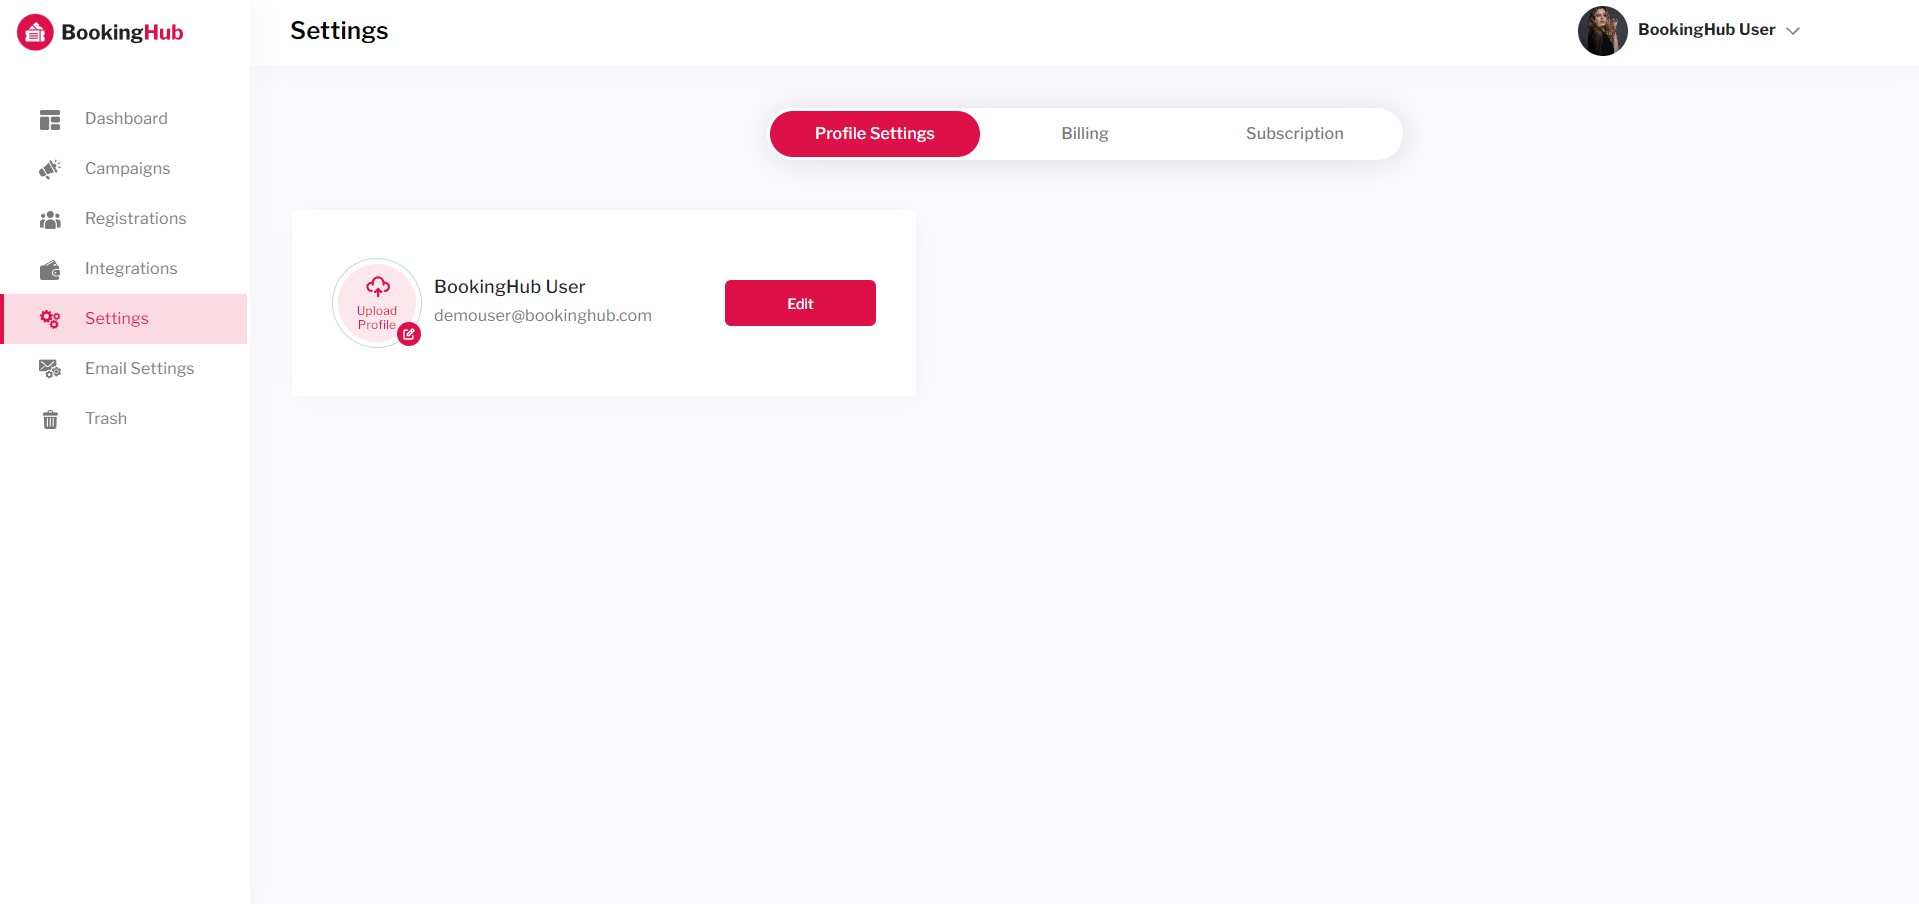
Settings
Using the setting options, you can change Profile information, can see Billing details. With Subscription plan setting, user can view the purchased plan and all avaialable plans.
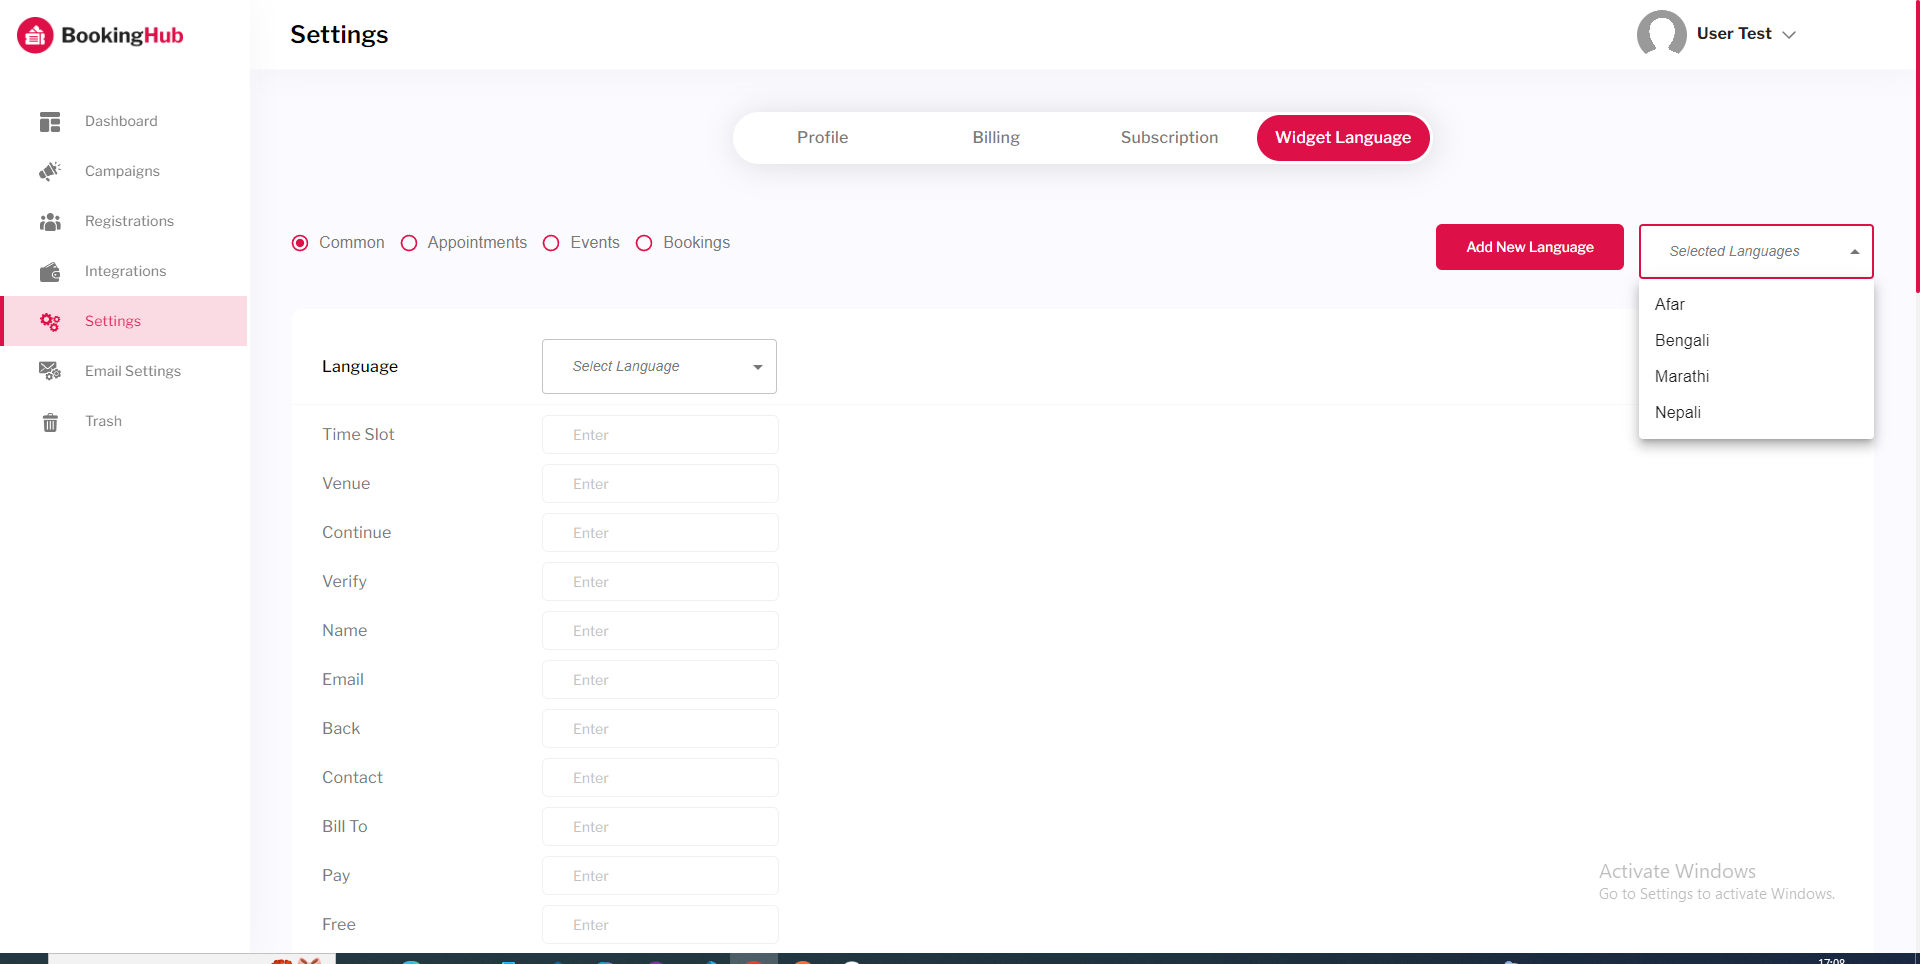
Apart from this user can add any desired language for widget through Widget Language setting.
Profile Settings User can edit profile information.
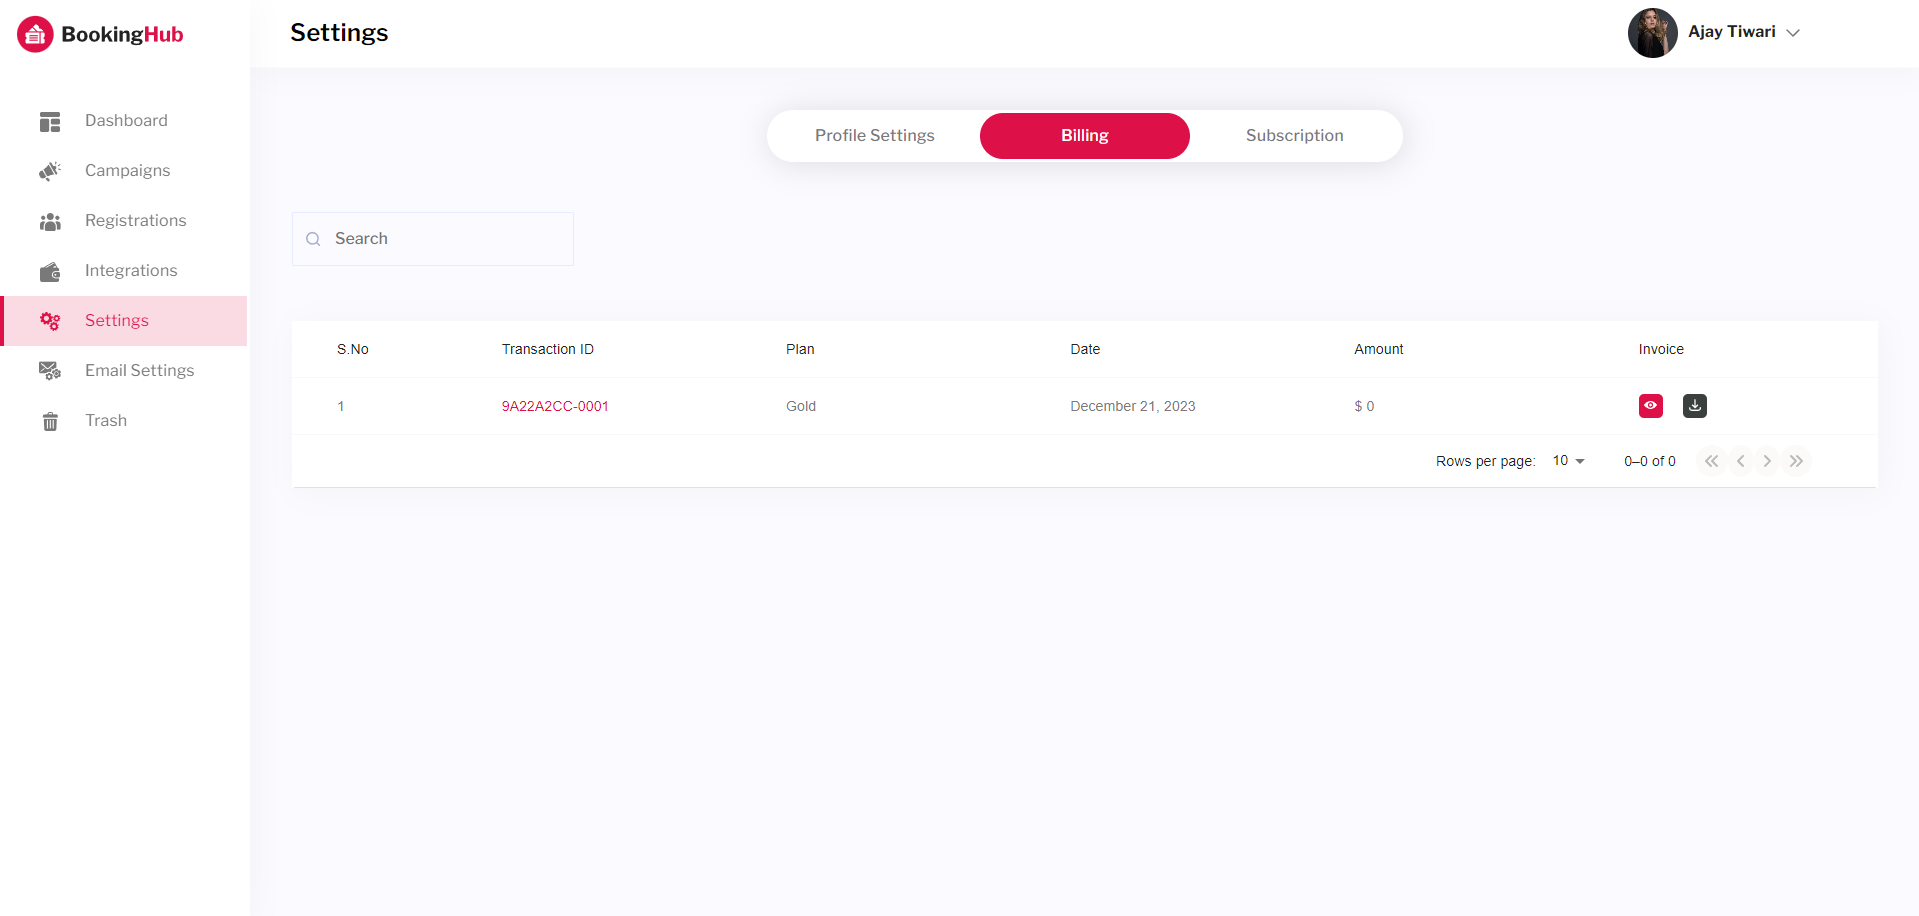
Billing User can view the billing information.
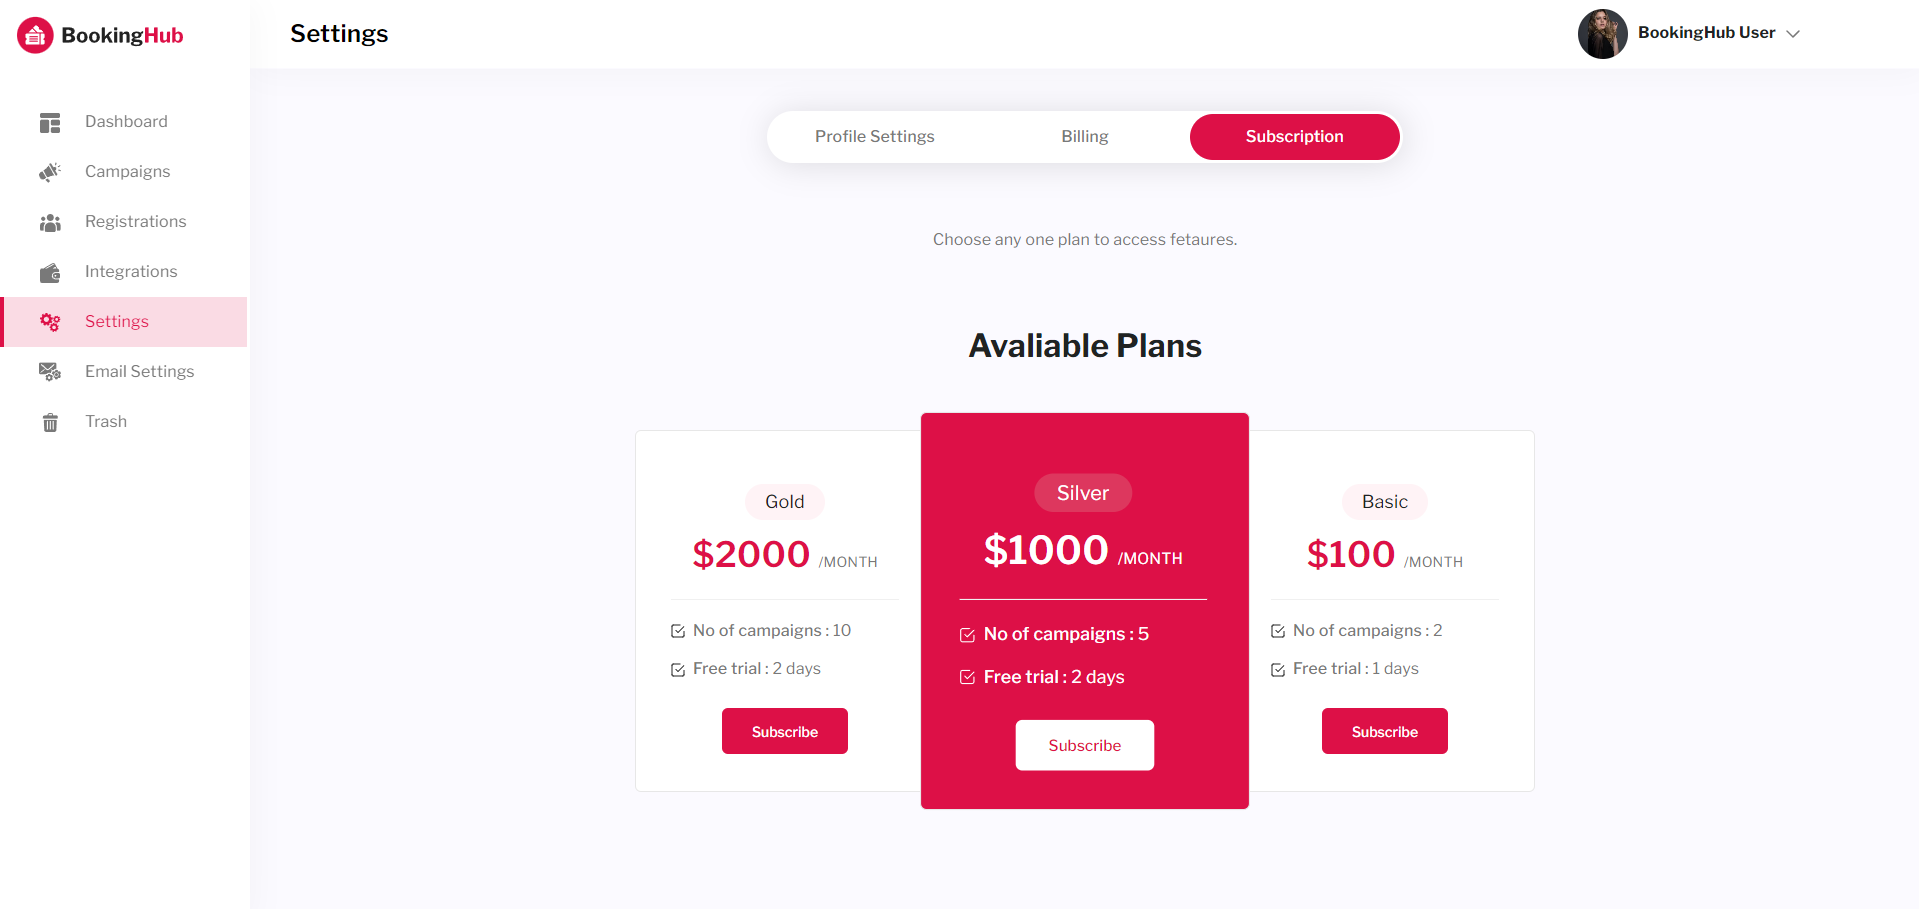
Subscription Plan Settings User can view the purchased plan and all avaialable plans.
Widget Language User can add the language for widget, view the selected languages. And the added languages will appear while creating campaigns.
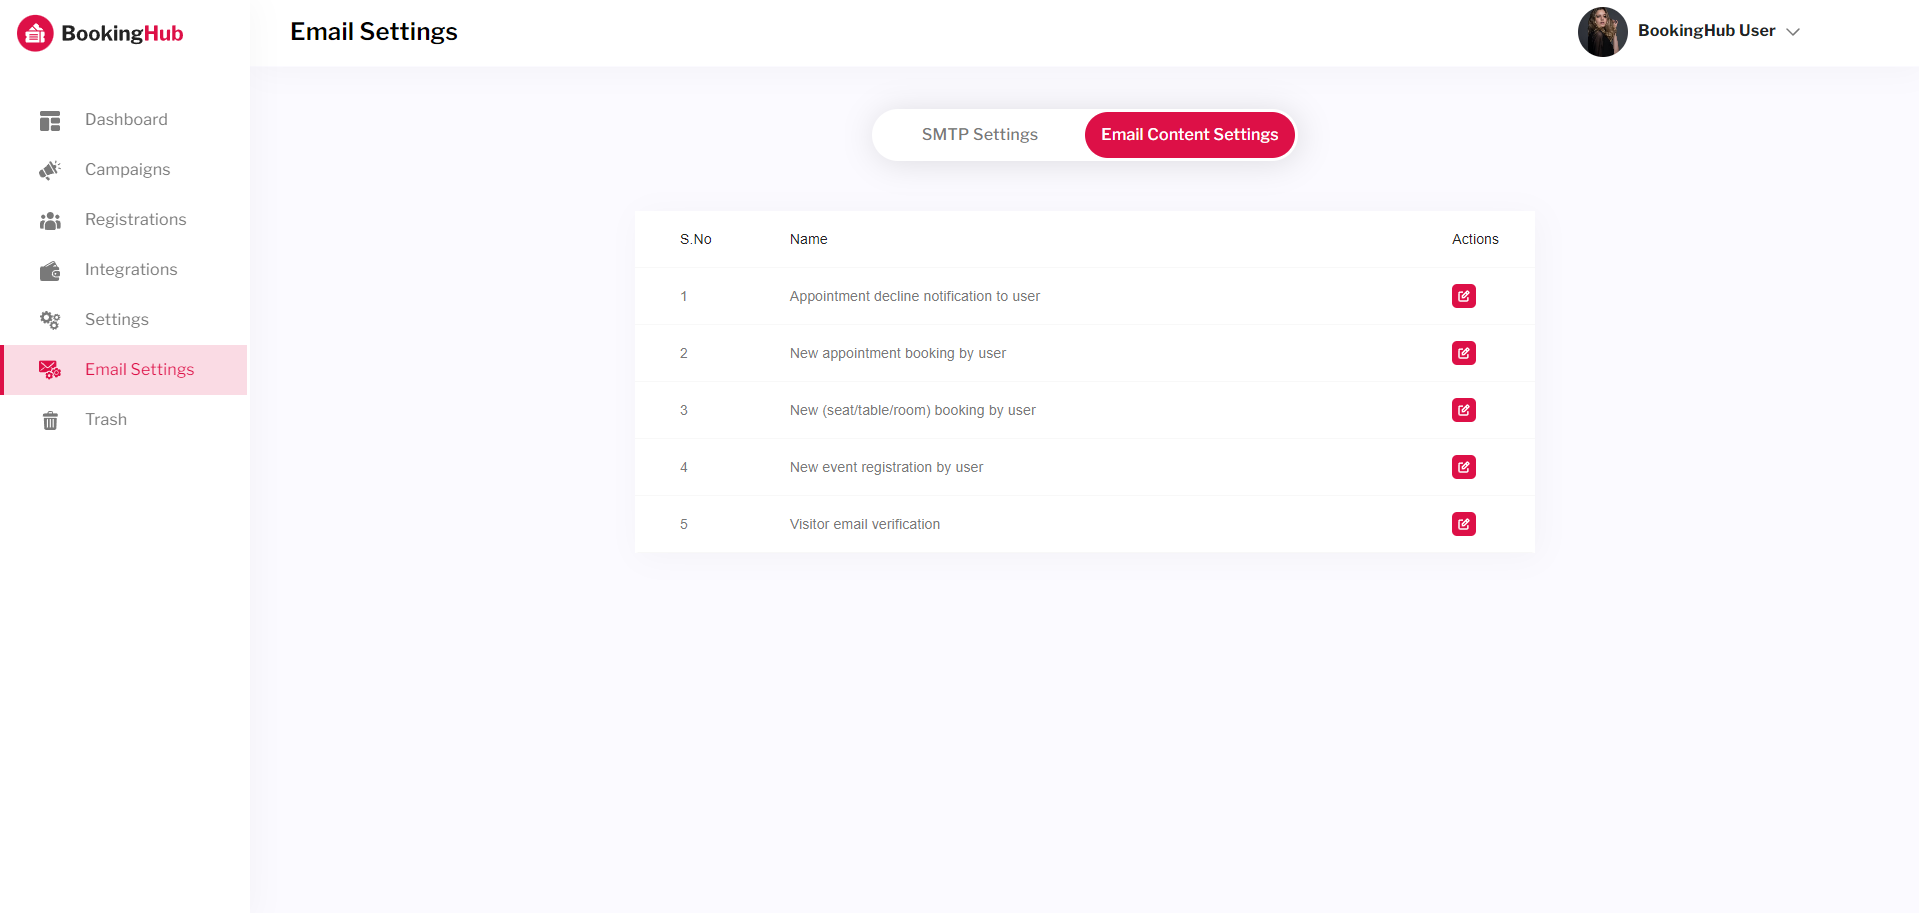
Email Settings
With this setting, user can integrate the SMTP settings and edit email content.
Trash
This setting will show the deleted campaigns.
Help And Support
In order to receive a technical support assistance, you need to have a valid purchase code. To get the code, please navigate to your Codecanyon "Downloads" page and click on the plugin download link.
After getting the Purchase code, please follow the steps mentioned on the link click Here to get your product verified. And then share your Purchase code and token ID with the support team.
If you have any questions that are beyond the reach of this help file, feel free to contact us. We will respond as soon as possible (within 24 – 48 hours, usually faster). We are open from 9:30am to 6:30pm (IST), from Monday till Friday.
NOTE: As authors of this script we do provide support only for the script-related features.
Outro
Thank you for your purchase. If you have any questions that are beyond the scope of this help file, please contact us through support@pixelnx.com
Once again, thank you so much for purchasing this script. As I said at the beginning, I'd be glad to help you if you have any questions relating to this script. No guarantees, but I'll do my best to assist. If you have a more general question relating to the script, you might consider visiting the forums and asking your question in the "Item Discussion" section.